

Tesla's advanced driver-assistance systems (ADAS) heavily rely on high-resolution bumper cameras for safety features like collision avoidance, lane departure warning, and reverse parking. Specialized Tesla bumper camera repair is crucial after accidents or during repairs like frame straightening to maintain OEM standards and ensure effective visual sensors for safe autonomous driving. This delicate process requires adherence to OEM standards for both aesthetics and performance, with non-OEM parts potentially compromising safety and looks. A step-by-step guide outlines the precise procedure, from tool preparation to testing new camera functionality day and night.
Tesla’s advanced bumper camera systems are integral to their vehicles’ safety features, capturing crucial visuals for driver assistance. Ensuring these cameras meet Original Equipment Manufacturer (OEM) standards is essential for maintaining visual quality and enhancing overall safety. This article provides a comprehensive guide to understanding Tesla bumper camera systems and offers a step-by-step approach to efficient repair, ensuring your Tesla’s visual integrity remains uncompromised. Learn how to master the art of Tesla bumper camera repair.
- Understanding Tesla Bumper Camera Systems: A Comprehensive Overview
- Why OEM Standards Are Crucial for Visual Quality and Safety
- Step-by-Step Guide to Efficient and Effective Bumper Camera Repair
Understanding Tesla Bumper Camera Systems: A Comprehensive Overview
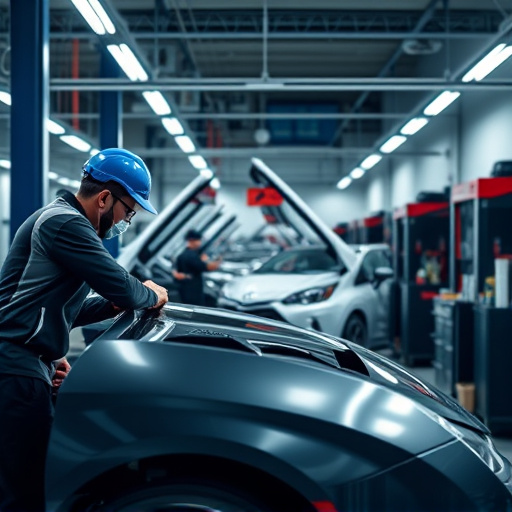
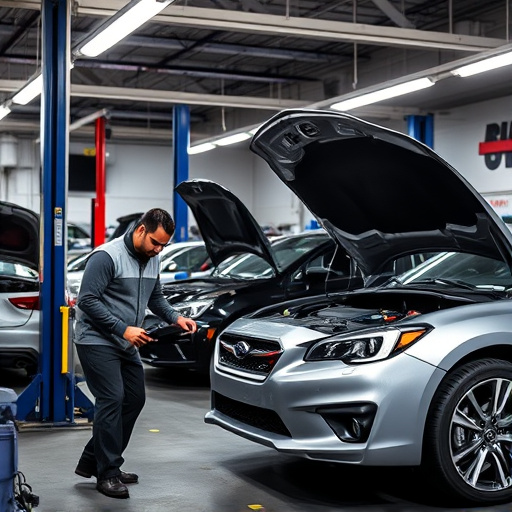
Tesla’s bumper camera systems are integral components of their advanced driver-assistance systems (ADAS) and autonomous driving capabilities. These cameras, strategically mounted on the front and rear bumpers, serve as eyes for various safety features, including collision avoidance, lane departure warning, and reverse parking assistance. Understanding how these systems work is crucial when it comes to Tesla bumper camera repair.
Each camera captures high-resolution footage, which is processed by powerful onboard computers to detect obstacles, traffic signs, and other vehicles. This real-time data enables Tesla’s vehicles to make split-second decisions, ensuring safer driving experiences. When a collision occurs or a camera undergoes damage during an automotive repair, such as frame straightening or collision repair services, the integrity of these visual sensors becomes paramount. Therefore, specialized Tesla bumper camera repair is essential to maintain OEM (original equipment manufacturer) standards and ensure the safety and efficiency of the vehicle’s ADAS features.
Why OEM Standards Are Crucial for Visual Quality and Safety
Original Equipment Manufacturer (OEM) standards are pivotal for maintaining superior visual quality and safety in Tesla vehicles, particularly when it comes to crucial components like bumper cameras. These standards ensure that replacement parts seamlessly integrate with the vehicle’s design and function flawlessly. When a Tesla bumper camera needs repair or replacement, adhering to OEM guidelines is essential. It guarantees not just aesthetic harmony but also optimal performance, enhancing the overall driving experience and safety features.
Non-OEM parts might not meet these stringent criteria, potentially compromising the vehicle’s appearance and safety systems. As such, for Tesla owners prioritizing both visual appeal and functional integrity, choosing reputable repair services that specialize in OEM components is a prudent step. This ensures that the repaired or replaced bumper camera aligns perfectly with the vehicle’s original design and performance standards, be it for aesthetic restoration or enhanced driving dynamics.
Step-by-Step Guide to Efficient and Effective Bumper Camera Repair
Performing a Tesla bumper camera repair is a meticulous process that requires precision and an understanding of original equipment manufacturer (OEM) standards. Here’s a step-by-step guide to ensure your repair meets OEM visual standards, enhancing safety and aesthetics for your Tesla.
1. Preparation: Begin by gathering all necessary tools and materials, including replacement camera modules, adhesive compatible with Tesla components, and protective gear. Park your Tesla in a well-lit area, ensuring easy access to the damaged bumper camera.
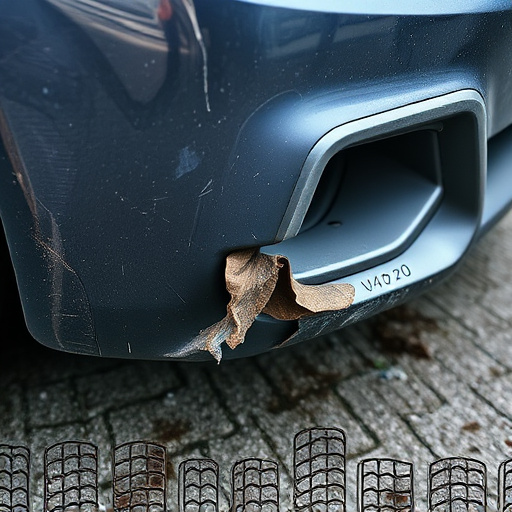
2. Remove the Bumper: Carefully disassemble the damaged bumper, taking note of how each component is attached. Use a suitable tool to gently pry off the bumper, being mindful of surrounding parts. Once removed, inspect the bumper and camera mount for any signs of damage or debris that might have contributed to the original issue.
3. Remove the Old Camera: Carefully unscrew and remove the old camera module from its mount. Clean the mount thoroughly to ensure there’s no residue left behind that could affect the new camera’s performance.
4. Install New Camera: Insert the replacement camera module into the mount, ensuring it aligns perfectly with the bumper’s design. Secure it in place using the appropriate adhesive, following manufacturer guidelines for proper curing time.
5. Reassemble and Test: Carefully put the bumper back in its original position, aligning all components correctly. Apply gentle pressure to ensure a secure fit. After the adhesive has cured, test the new camera’s functionality, confirming clear and accurate footage both day and night.
Tesla bumper camera repair is not just about fixing a functional issue; it’s about maintaining original equipment manufacturer (OEM) visual standards, ensuring optimal safety and aesthetic appeal for your vehicle. By following a meticulous step-by-step guide, you can effectively address any issues with your Tesla’s bumper camera system, preserving its high-quality performance and contributing to the overall integrity of your car’s design and functionality.