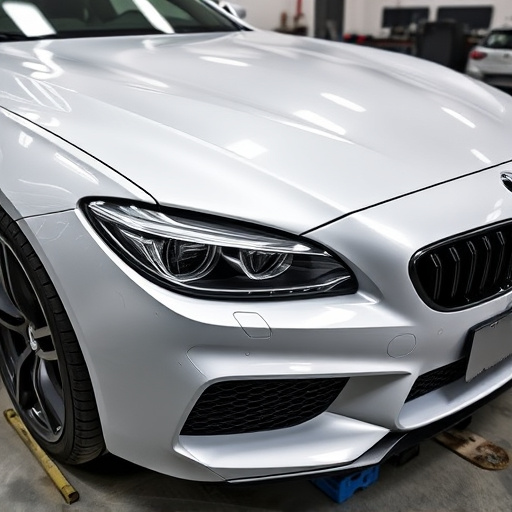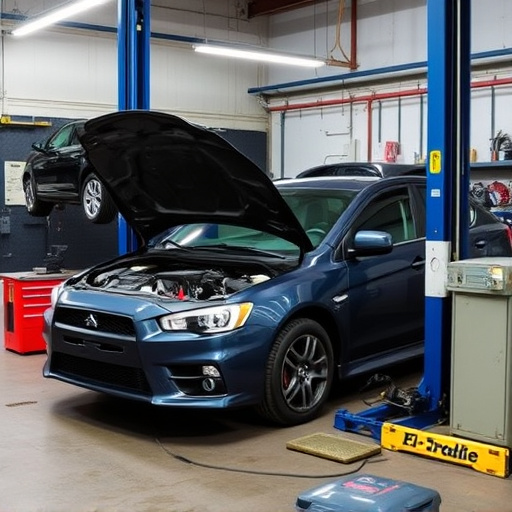

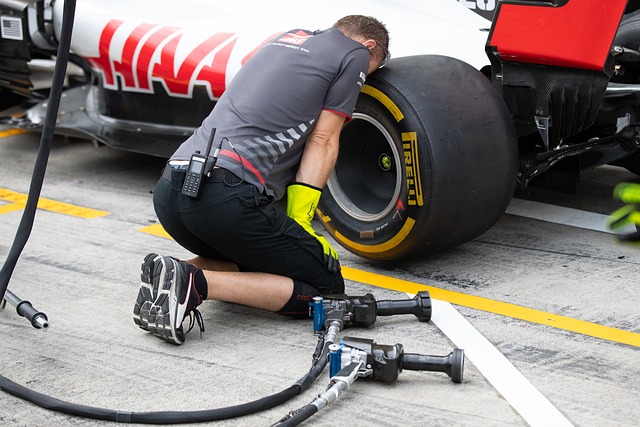

For optimal Tesla bumper camera repair, adhering to OEM (Original Equipment Manufacturer) guidelines is essential for maintaining vehicle integrity, safety, and aesthetics. The process involves skilled bodywork, precise alignment, and the use of genuine OEM parts to ensure both functional and cosmetic standards are met. A reputable collision repair shop specializing in electric vehicles will follow these procedures, guaranteeing a secure and seamless installation that meets Tesla and industry standards.
Tesla bumper camera repairs require adherence to Original Equipment Manufacturer (OEM) guidelines for optimal functionality and safety. This is crucial, as deviating from these standards can compromise the camera’s performance and potentially impact driving aids. Understanding and following OEM directives ensures a reliable, high-quality repair that meets Tesla’s strict specifications. In this guide, we’ll explore the key steps and considerations for successfully repairing your Tesla bumper camera while adhering to OEM guidelines.
- Understanding Tesla Bumper Camera Repair Standards
- The Importance of Following OEM Guidelines
- Step-by-Step Guide to Successful Repairs
Understanding Tesla Bumper Camera Repair Standards
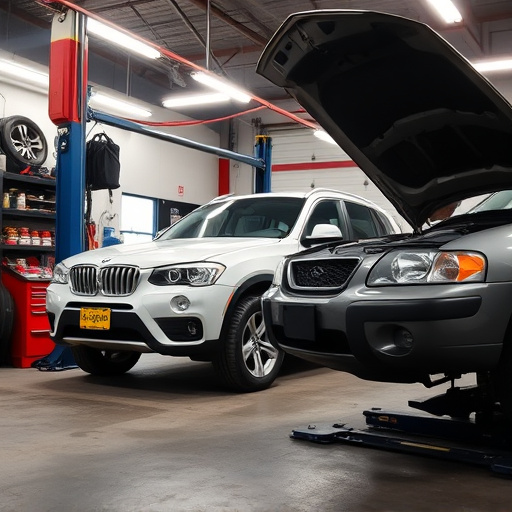
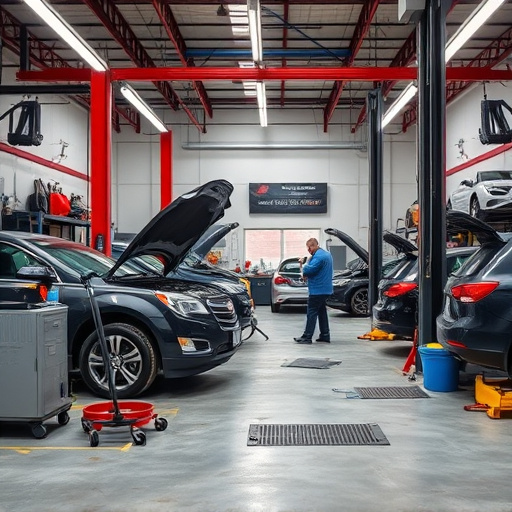
When it comes to Tesla bumper camera repair, adhering to OEM (Original Equipment Manufacturer) guidelines is paramount. These standards ensure that any repairs or replacements maintain the vehicle’s original integrity and safety features. For Tesla owners, this means selecting auto repair services that have a proven track record in handling such specialized work.
The process involves more than just fixing a broken camera; it requires precise car bodywork services to ensure the bumper remains structurally sound and aesthetically pleasing. With Tesla’s advanced technology, even minor misalignments can impact the vehicle’s overall performance and appearance. Therefore, choosing an experienced technician who understands these intricacies is key to ensuring a successful Tesla bumper camera repair that meets both functional and cosmetic expectations.
The Importance of Following OEM Guidelines
When it comes to Tesla bumper camera repair, adhering to Original Equipment Manufacturer (OEM) guidelines is paramount. These guidelines are meticulously crafted to ensure your vehicle retains its original quality, safety standards, and aesthetic appeal. Following OEM procedures guarantees that the repair process aligns with Tesla’s rigorous engineering standards, ensuring optimal performance and reliability of the bumper camera system.
Neglecting these guidelines can lead to subpar repairs, compromising not just the functionality of your Tesla bumper camera but also the overall integrity of your vehicle. A reputable collision repair shop specializing in auto body repair for electric vehicles will understand and follow these guidelines, guaranteeing a seamless and secure installation that meets both Tesla’s and industry standards.
Step-by-Step Guide to Successful Repairs

A successful Tesla bumper camera repair requires meticulous attention to detail and adherence to original equipment manufacturer (OEM) guidelines. Here’s a step-by-step guide for achieving optimal results:
1. Safety First: Before beginning any repair, ensure your workspace is well-lit, organized, and free from debris. Put on protective gear, including gloves and safety glasses, to avoid damaging parts or sustaining injuries.
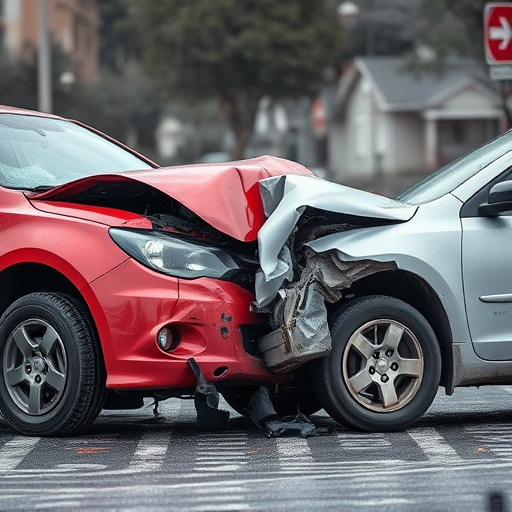
2. Inspection: Carefully inspect the damaged bumper camera assembly to identify loose or missing components. Clean the area thoroughly, removing any dirt, dust, or debris that could impede the repair process. This meticulous inspection is crucial for identifying all issues and ensuring a complete fix.
3. Demontage: Using specialized tools designed for Tesla vehicles, carefully disassemble the damaged camera module from the bumper. Note the orientation and position of each component to facilitate accurate reassembly later.
4. Replacement Parts: Procure genuine OEM parts that are specifically designed for your Tesla model. Counterfeit or generic parts may not align properly and could compromise the effectiveness of the repair.
5. Installation: Install the new camera module, ensuring it fits perfectly into the bumper assembly. Double-check all connections to guarantee a secure fit and proper functionality.
6. Testing: After reassembling the entire bumper, test the camera system thoroughly. Ensure both day and night visibility are optimal, confirming the repair’s success through comprehensive testing in various lighting conditions.
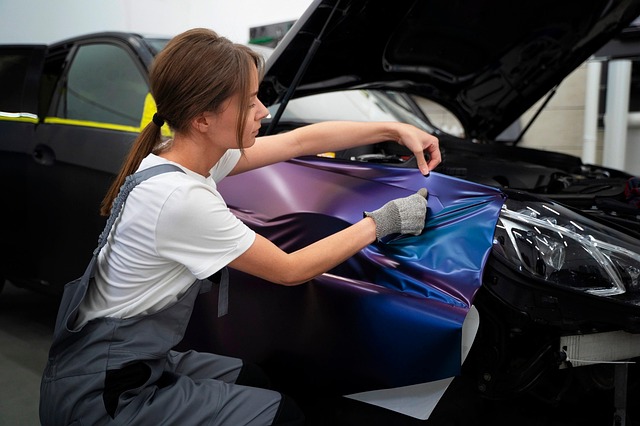
7. Finishing Touches: Once satisfied with the repair, apply high-quality car paint services if any surrounding areas require touch-ups to maintain a seamless finish. Consider collision repair services for more complex damage, ensuring your Tesla’s bumper looks as good as new.
When it comes to repairing a Tesla bumper camera, adhering to Original Equipment Manufacturer (OEM) guidelines is paramount. Following these standards ensures not only the best visual quality but also maintains the vehicle’s safety features and resale value. By carefully following the step-by-step guide outlined in this article, you can successfully repair your Tesla bumper camera, ensuring optimal performance and peace of mind on the road. For any Tesla bumper camera repair, prioritizing OEM compliance is key to a job well done.