
Adhering to Original Equipment Manufacturer (OEM) guidelines is crucial for safe and effective Tesla bumper camera repairs, ensuring proper alignment, high-quality imaging, and reliable system functionality through the use of genuine parts, specialized tools, and approved techniques. Following Tesla's stringent standards requires expertise in both Tesla vehicles and automotive collision repair to navigate complex procedures successfully, preserving both safety and aesthetics.
When addressing a Tesla bumper camera repair, adhering to Original Equipment Manufacturer (OEM) guidelines is paramount. These standards ensure not only the restoration of your vehicle’s safety features but also maintain its resale value. This article delves into the importance of OEM guidelines for Tesla bumper camera repairs, offering a comprehensive step-by-step guide to guarantee quality and safety. By following these directives, you’ll ensure a reliable and original equipment-like repair.
- Understanding Tesla Bumper Camera Repair Standards
- The Role of OEM Guidelines in Ensuring Quality and Safety
- Step-by-Step Guide to Adhering to OEM Guidelines for Camera Replacement
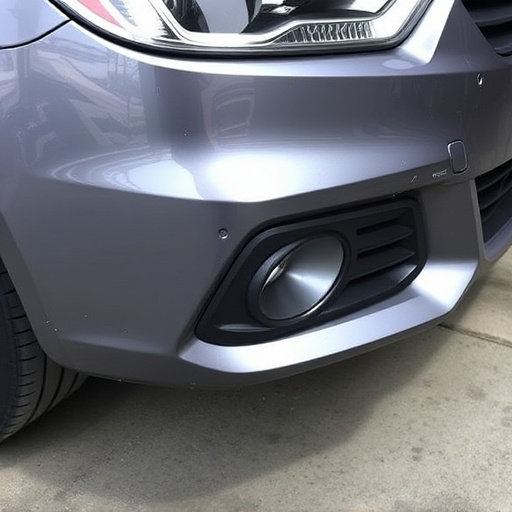
Understanding Tesla Bumper Camera Repair Standards
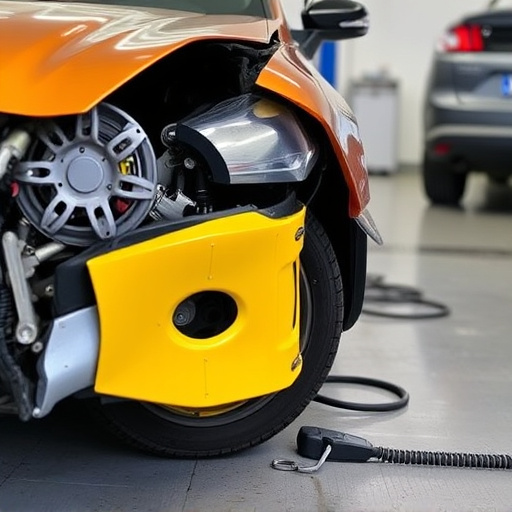
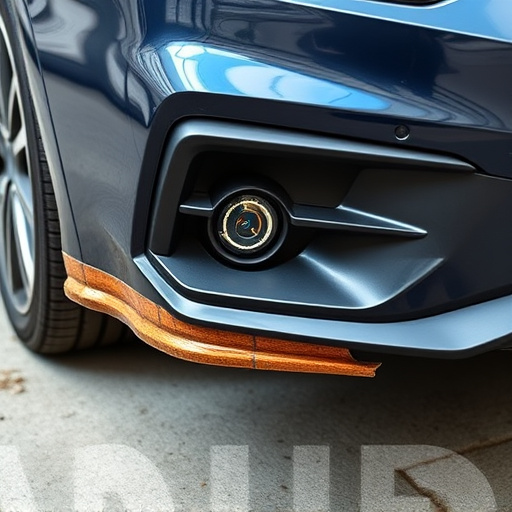
When it comes to Tesla bumper camera repair, adhering to OEM (Original Equipment Manufacturer) guidelines is paramount. These standards ensure that any replacements or repairs maintain the safety and integrity of the vehicle’s design, particularly in the case of advanced driver-assistance systems (ADAS). Following OEM specifications for Tesla bumper camera repair involves using genuine parts, specialized tools, and techniques approved by Tesla to preserve the functionality and reliability of the cameras.
Understanding these guidelines is crucial, especially after a car collision repair or auto glass repair, as it ensures that the vehicle’s safety features work as intended. Tesla’s stringent standards are designed to protect against potential issues like misalignment, poor image quality, or system malfunctions. Therefore, it’s essential to consult Tesla’s official repair protocols and only engage trusted professionals who have expertise in both Tesla vehicles and automotive collision repair to guarantee a successful Tesla bumper camera repair process.
The Role of OEM Guidelines in Ensuring Quality and Safety
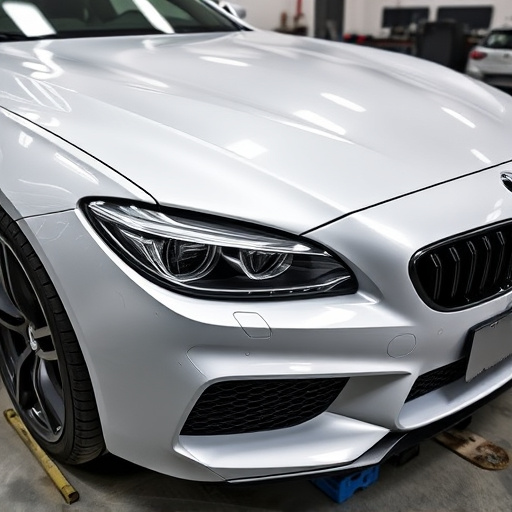
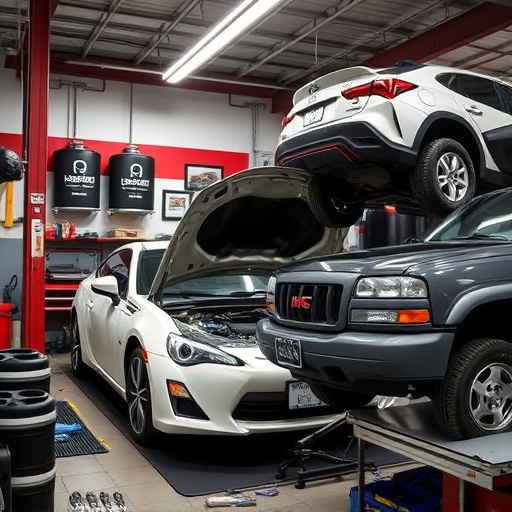
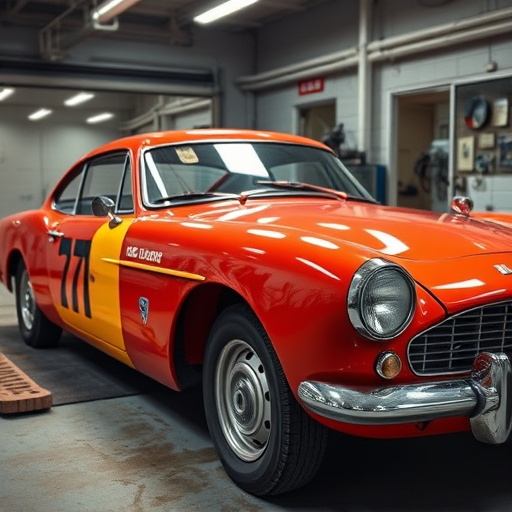
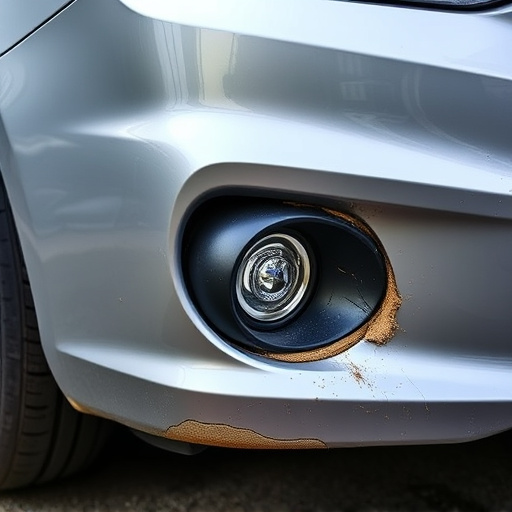
When it comes to Tesla bumper camera repair, adhering to OEM (Original Equipment Manufacturer) guidelines is paramount for maintaining both quality and safety standards. These guidelines are meticulously crafted to ensure that any replacement or repair aligns perfectly with the vehicle’s original design and functionality. Following OEM specifications guarantees that the repaired area, specifically the car bodywork encompassing the bumper and camera assembly, will withstand the rigors of everyday driving and potential future collisions.
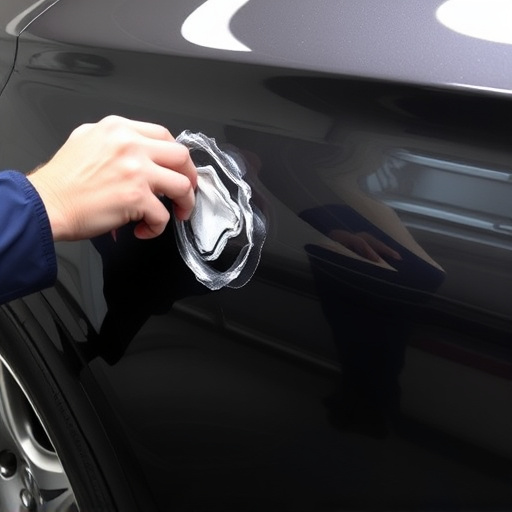
By strictly adhering to these guidelines, a qualified collision repair center can preserve the aesthetic integrity of the vehicle, ensuring that the fixed or replaced parts seamlessly blend with the existing vehicle bodywork. This meticulous approach not only enhances the overall appearance but also reinforces structural stability, which is crucial for driver safety and the prevention of more severe damage during future incidents.
Step-by-Step Guide to Adhering to OEM Guidelines for Camera Replacement
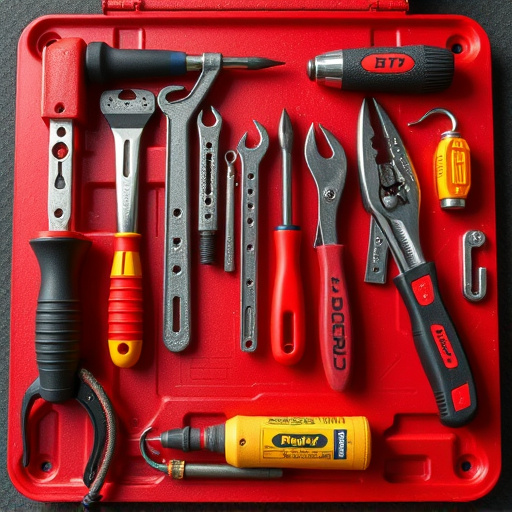
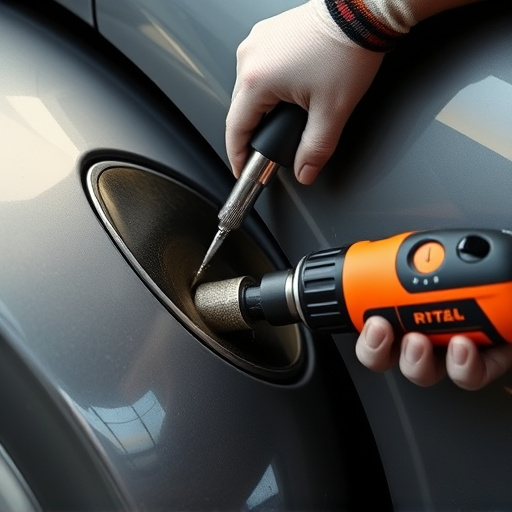
When repairing or replacing a Tesla bumper camera, adhering to Original Equipment Manufacturer (OEM) guidelines is paramount. It ensures both safety and optimal functionality for your vehicle. Here’s a step-by-step guide to help you navigate this process smoothly. First, gather all necessary tools and parts specifically designed for your Tesla model. Ensure the camera unit, housing, and any related sensors are of OEM quality. Before installation, carefully study the detailed instructions provided by Tesla, which typically include diagrams and specifications. This step is crucial for maintaining the car’s original design and performance.
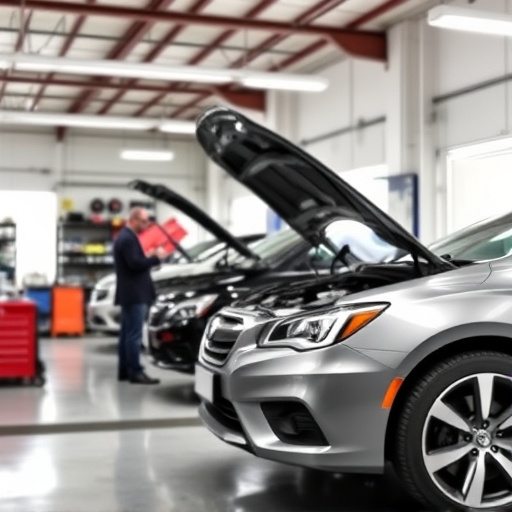
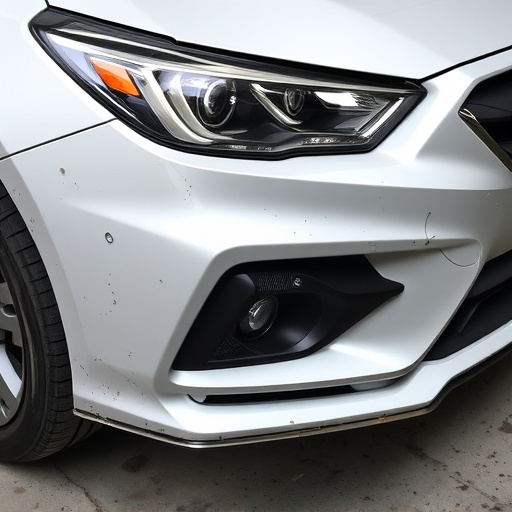
Next, carefully remove the damaged or faulty bumper camera following the reverse sequence of its installation. Take note of any existing markings or alignment guides to facilitate accurate reassembly. When installing the new camera, position it precisely according to OEM guidelines, ensuring proper alignment with the vehicle’s sensors and lighting systems. Tighten all components securely but avoid excessive force to prevent damage. Finally, test the camera’s functionality, including its night vision capabilities and connection to your Tesla’s infotainment system, before closing up the bumper. This meticulous approach guarantees a seamless repair that matches the high standards of an automotive repair shop dedicated to Tesla models.
When undertaking a Tesla bumper camera repair, strictly adhering to Original Equipment Manufacturer (OEM) guidelines is paramount. These guidelines ensure that the replacement process maintains the vehicle’s safety standards and aesthetic integrity. By following a step-by-step approach outlined in this article, you can confidently replace your Tesla bumper camera while preserving the car’s overall quality and value. Remember, proper adherence to OEM specifications is key to achieving a successful and safe repair for your Tesla bumper camera.