

Tesla bumper camera repair involves addressing common mounting issues to ensure optimal safety. Gather tools including screwdrivers, pliers, and a frame straightening tool. Learn basic frame straightening techniques for precise alignment. Replace mounts by cleaning, disengaging old ones, aligning new mounts, and securely inserting screws with proper torque. Double-check stability after tightening.
“Keep your Tesla’s safety features functioning optimally with this comprehensive guide to Tesla bumper camera repair. Learn how to tackle common issues with loose or damaged camera mounts, ensuring your vehicle’s advanced driver-assistance systems (ADAS) remain reliable. We’ll walk you through the process, from identifying problems to reattaching the camera mount securely. Armed with the right tools and clear instructions, you’ll be well on your way to restoring your Tesla’s essential safety functionality.”
- Understanding Tesla Bumper Camera Issues
- Tools and Materials for Repair
- Step-by-Step Guide to Reattaching the Camera Mount
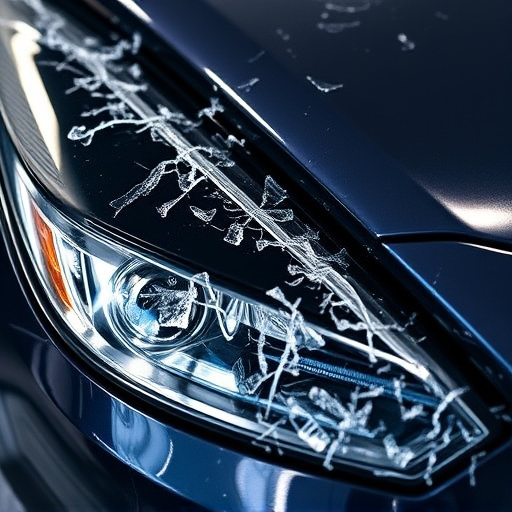
Understanding Tesla Bumper Camera Issues
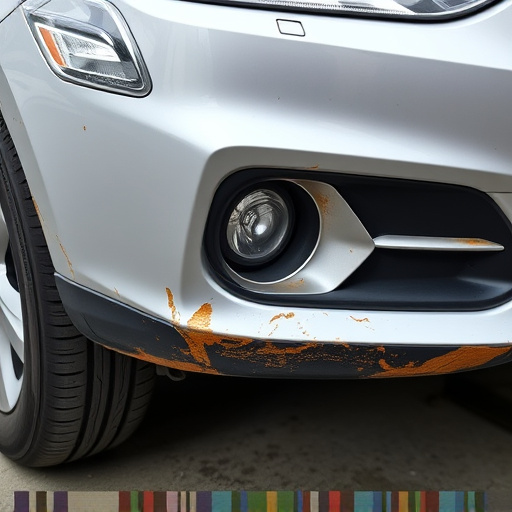
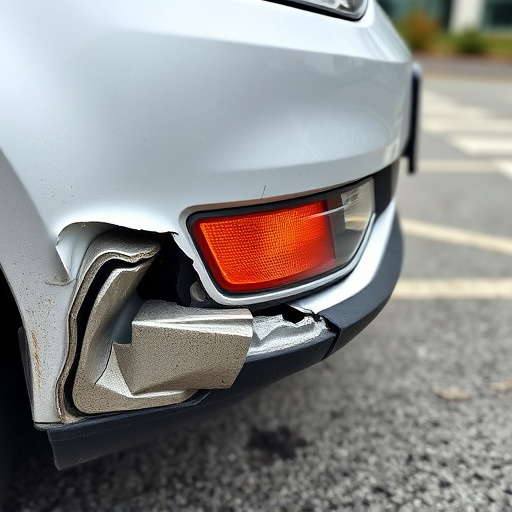
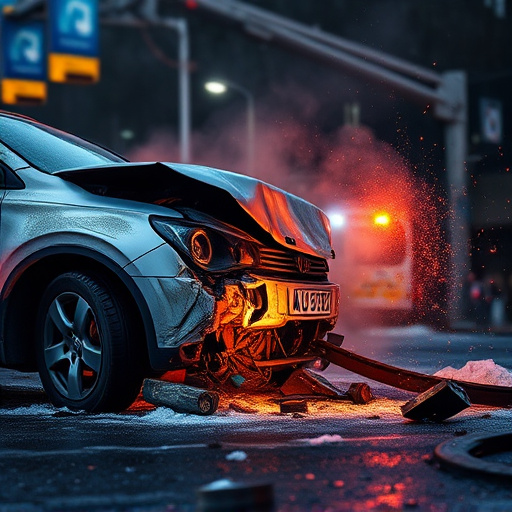
Tesla bumper cameras are an essential safety feature, designed to provide a 360-degree view around your vehicle for easier driving and parking. However, like any other component, they can experience issues due to various reasons, including vehicle collisions or simple wear and tear. If you notice your Tesla bumper camera is loose or damaged, it’s crucial to address the problem promptly.
Common issues with Tesla bumper cameras often stem from mounting problems resulting from a vehicle collision repair or poor installation. Over time, the mounts might become weakened, leading to a camera that’s no longer securely attached. This can cause the camera to move around, affecting its performance and potentially leading to damage during subsequent collisions or routine car paint repair. Proper Tesla bumper camera repair is essential to ensure your vehicle’s safety systems function optimally.
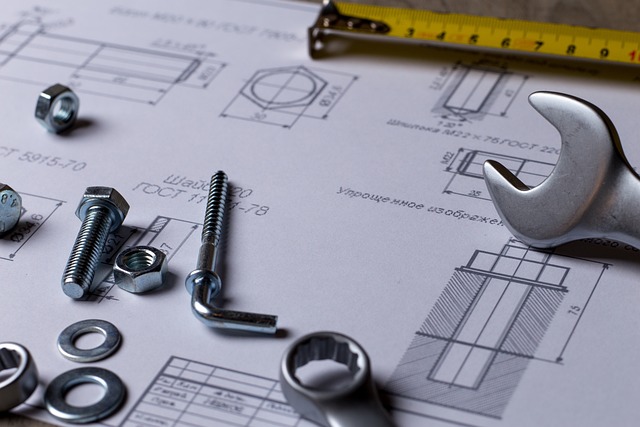
Tools and Materials for Repair
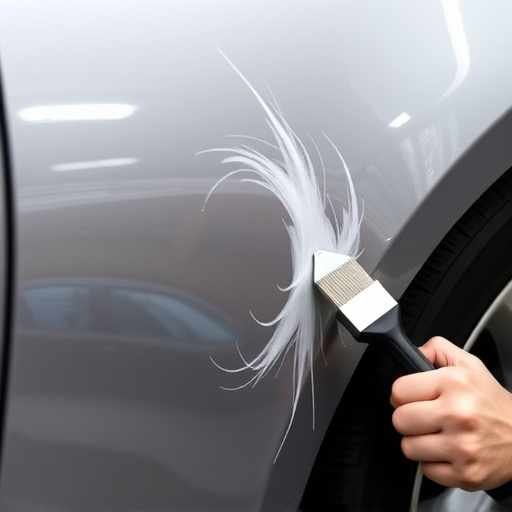
For a successful Tesla bumper camera repair, you’ll need a few key tools and materials. First, gather a set of precision screwdrivers, including flathead and Phillips varieties, to address any loose or damaged screws holding the camera mount in place. Next, secure a high-quality camera replacement if needed, ensuring it’s compatible with your Tesla model. Having a pair of needle-nose pliers will aid in carefully adjusting and securing the new or repaired mount. Additionally, consider having a frame straightening tool for minor adjustments to the bumper itself, as precise alignment is crucial for a seamless repair.
Don’t forget protective gear, such as safety glasses, to shield your eyes from any debris during the process. A clean, well-lit workspace will also be beneficial. While automotive collision repair techniques may not always be required for this specific task, having a basic understanding of frame straightening can help ensure the camera is aligned correctly and securely mounted, enhancing the overall Tesla bumper camera repair efficiency.
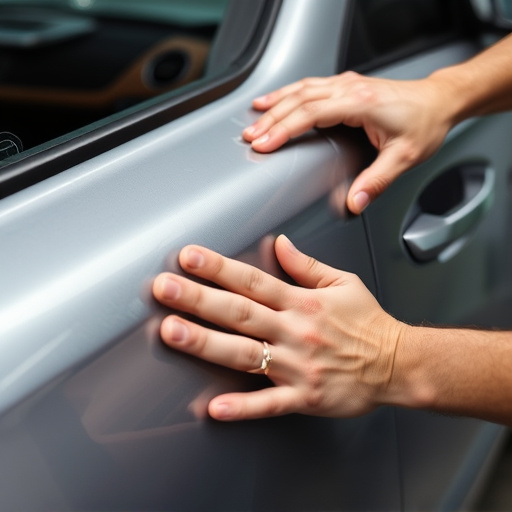
Step-by-Step Guide to Reattaching the Camera Mount
To reattach your Tesla bumper camera mount, start by locating the camera assembly on your vehicle’s bumper. Next, gather all necessary tools, including a new or replacement camera mount, screwdriver, and any other hardware specified in your repair manual. Begin by removing any loose debris from around the mounting area using compressed air cans. Then, carefully disengage the old mount by unscrewing it with the appropriate screwdriver. Once removed, inspect the bumper surface for damage and clean as needed to ensure a secure bond. Position the new or replacement camera mount in its designated location, ensuring all alignment markings align correctly. Reinsert the screws securely, following the torque specifications outlined in your vehicle’s manual for optimal structural integrity. After tightening, double-check the stability of the camera assembly by gently tapping it into place.
Fixing a loose or damaged Tesla bumper camera mount is a straightforward process that can be accomplished with minimal tools and materials. By understanding the common issues affecting Tesla bumper cameras and following a simple step-by-step guide, you can efficiently resolve the problem and ensure your vehicle’s advanced driver-assistance systems (ADAS) function optimally. Remember, prompt action on camera mounts ensures your safety and enhances the overall performance of your Tesla’s autonomous driving capabilities.