
Tesla bumper camera repair is essential for safety and optimal performance of Autopilot features, offering 360-degree visibility and collision avoidance. Proper recalibration ensures accurate ADAS data, critical for urban driving and challenging terrain. Collision repair centers provide expert assistance in disassembly, cleaning, reassembly, and calibration using specialized tools for peak functionality.
Tesla’s advanced bumper cameras are a safety staple, offering 360° visibility and autonomous driving aids. However, these complex systems can fail or require recalibration. This article guides you through the process of diagnosing and repairing your Tesla bumper camera, ensuring optimal performance. We’ll break down each step, from understanding the camera’s functions to real-world calibration tips, empowering you to maintain your vehicle’s safety features effectively. Learn how to tackle common issues and keep your Tesla’s cameras operating at peak efficiency.
- Understanding Tesla Bumper Camera Functions
- Step-by-Step Guide: Camera Repair Process
- Recalibrating Safety Features for Optimal Performance
Understanding Tesla Bumper Camera Functions
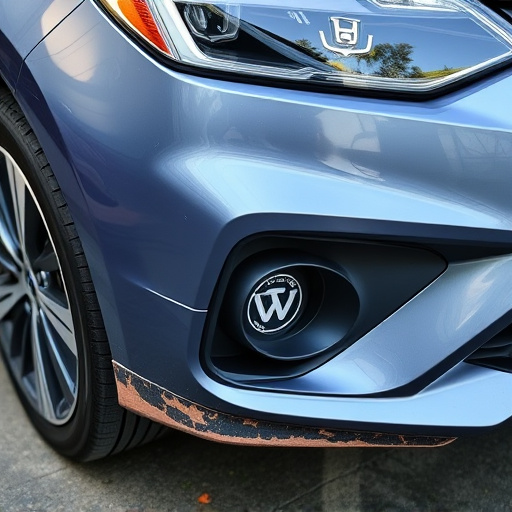
The Tesla bumper camera system is a sophisticated safety feature designed to enhance visibility and prevent collisions. These cameras are strategically placed on a vehicle’s front and rear bumpers, providing a 360-degree view around the car. They work in conjunction with Tesla’s Autopilot system to offer advanced driver assistance. The primary function of these cameras is to facilitate easier parking, lane changes, and collision avoidance by displaying a live feed on the car’s touchscreen or mobile app.
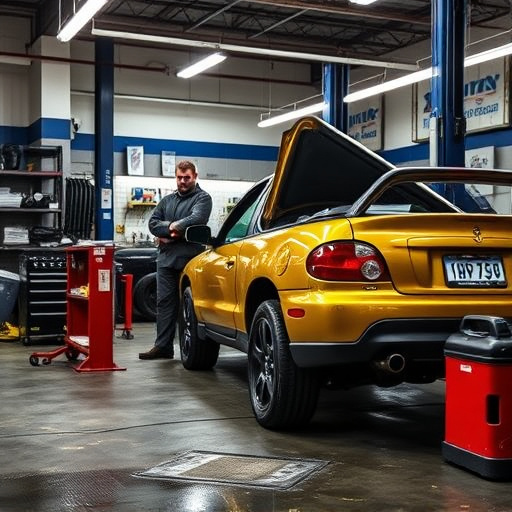
When discussing Tesla bumper camera repair, it’s crucial to understand that these cameras are integral to the vehicle’s safety suite. Over time, or due to external damage (requiring collision repair services or auto repair for car body restoration), the cameras might need recalibration or replacement. Regular maintenance and prompt repair of these components ensure optimal performance, thereby contributing to safer driving experiences.
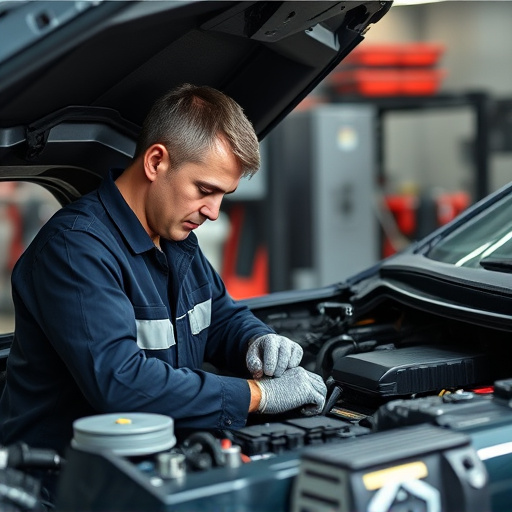
Step-by-Step Guide: Camera Repair Process
Step-by-Step Guide: Tesla Bumper Camera Repair Process
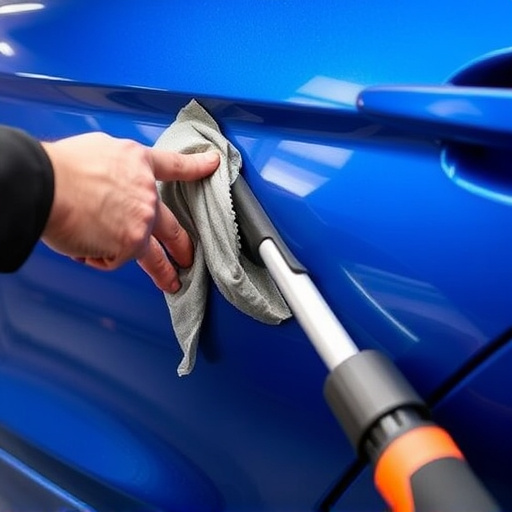
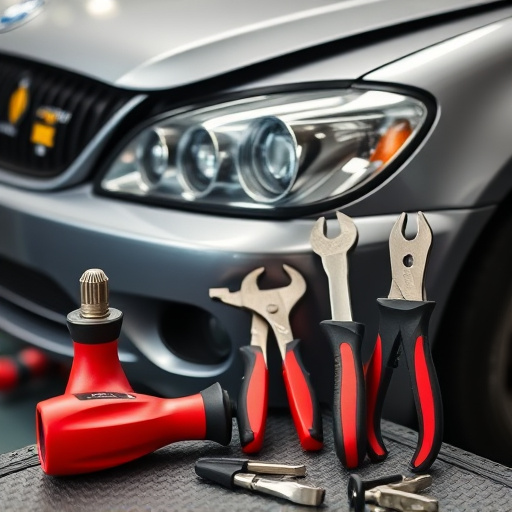
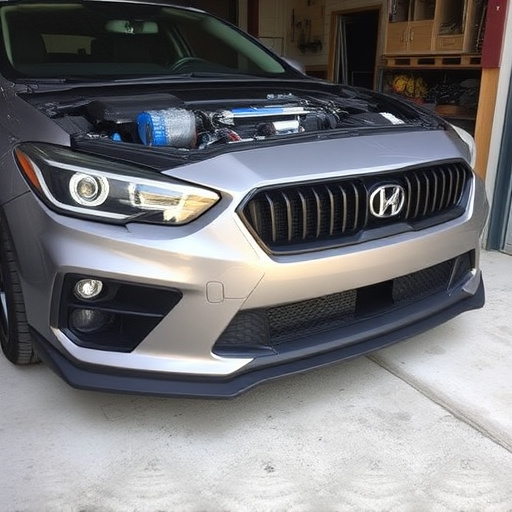
Tesla bumper camera repair is a crucial aspect of vehicle restoration for Model Y and 3 owners, ensuring optimal safety features. The process involves several meticulous steps to recalibrate the camera, maintaining the vehicle’s advanced driver-assistance systems (ADAS). First, locate the damaged or faulty camera on your Tesla’s front or rear bumper. Next, gather the necessary tools: a specialized camera repair kit, including replacement parts and adhesives suitable for automotive use. Disassemble the damaged area carefully, removing any debris or old adhesive. Clean the surface thoroughly to ensure proper adhesion during reassembly.
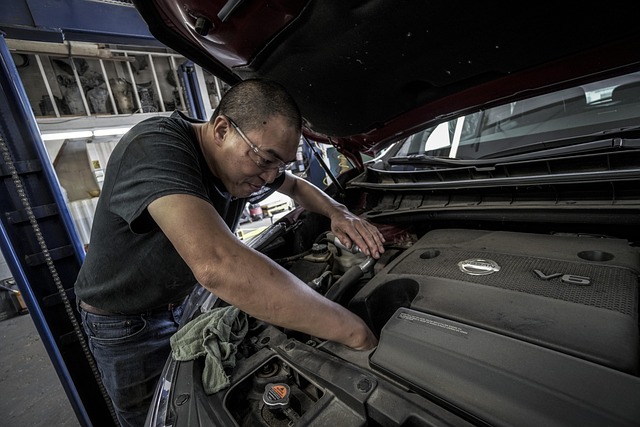
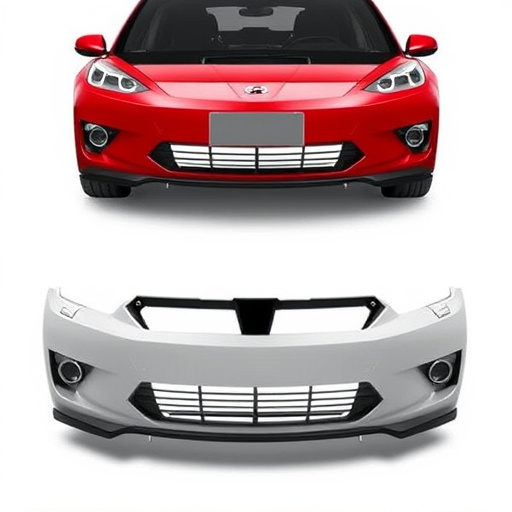
Install the new camera by aligning it precisely according to your vehicle’s specifications. Secure it with the provided adhesive, following the manufacturer’s guidelines. Once set, reattach any panels or components that were removed earlier. After a complete dry time, test the camera’s functionality using the vehicle’s display and calibration tools. This step is vital to ensure the camera feeds accurately into the ADAS system, enhancing your Tesla’s overall safety features and driving experience. For complex cases or those lacking confidence in auto body services, professional automotive repair shops specializing in electric vehicles can provide expert assistance throughout the Tesla bumper camera repair process.
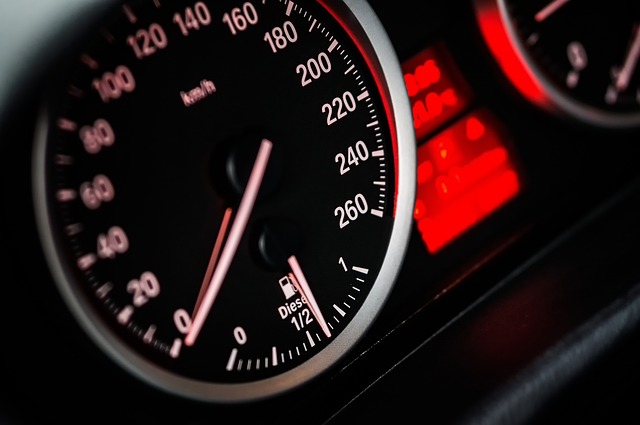
Recalibrating Safety Features for Optimal Performance
Properly recalibrating Tesla’s safety features after a bumper camera repair is paramount for ensuring optimal performance and driver safety. These advanced systems, including autonomous driving aids and collision avoidance mechanisms, rely on precise sensor data to function correctly. If not recalibrated, even minor misalignments following a car repair service or collision repair center visit could lead to compromised sensing capabilities, affecting the overall effectiveness of these critical safety features.
During the calibration process, specialized tools are employed to reset and align the bumper camera’s field of view, ensuring it accurately captures road conditions and potential obstacles. This meticulous step is crucial, especially for drivers navigating through congested urban environments or challenging terrain. By bringing these systems back into alignment, auto body shops and collision repair centers play a vital role in restoring Tesla vehicles’ safety features to their peak performance capabilities.
In conclusion, understanding and mastering Tesla bumper camera repair and safety feature recalibration is essential for optimal vehicle performance and enhanced safety. By following a structured step-by-step guide, you can effectively fix any issues with your car’s bumper cameras. Regular recalibration ensures these safety features operate at peak efficiency, providing peace of mind while driving. Remember, proper maintenance of Tesla’s advanced technology not only extends the life of your vehicle but also contributes to safer roads for everyone.