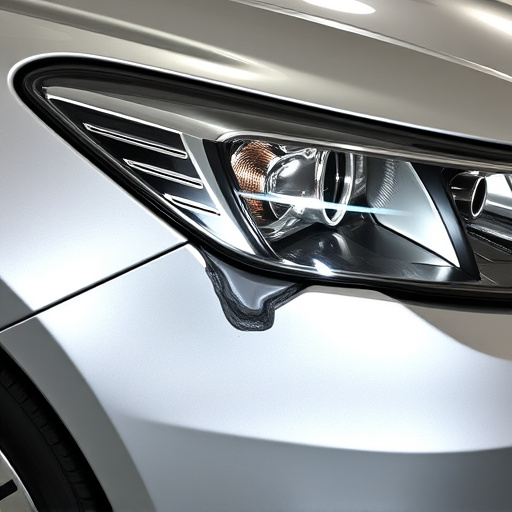


Tesla bumper camera lenses can fog or crack due to environmental factors or debris. Professional repair is recommended for severe cases, ensuring optimal visibility and safety. The right tools include specialized screwdrivers, replacement lenses, and cleaning solutions. DIY replacement involves gathering tools, removing the old lens, cleaning the area, inserting the new lens, and aligning it with the camera module before securing and testing.
Struggling with a fogged or cracked lens on your Tesla bumper camera? This comprehensive guide is here to help. We’ll walk you through understanding common issues, gathering the right tools and materials for a successful repair, and providing a step-by-step process to replace your bumper camera efficiently. By following these simple steps, you’ll have your Tesla’s crucial safety feature up and running again in no time.
- Understanding Tesla Bumper Camera Issues
- Tools and Materials for Repair
- Step-by-Step Guide to Replacement
Understanding Tesla Bumper Camera Issues

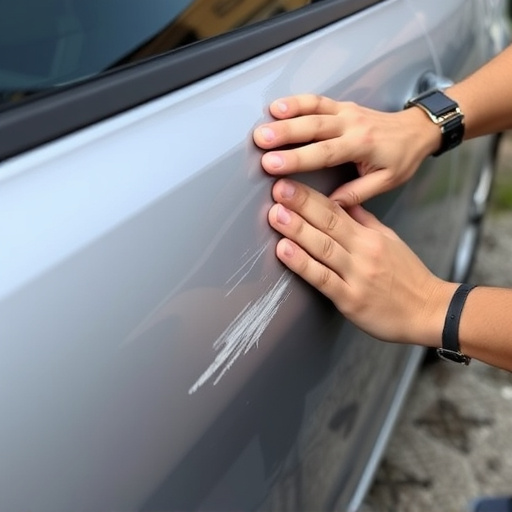
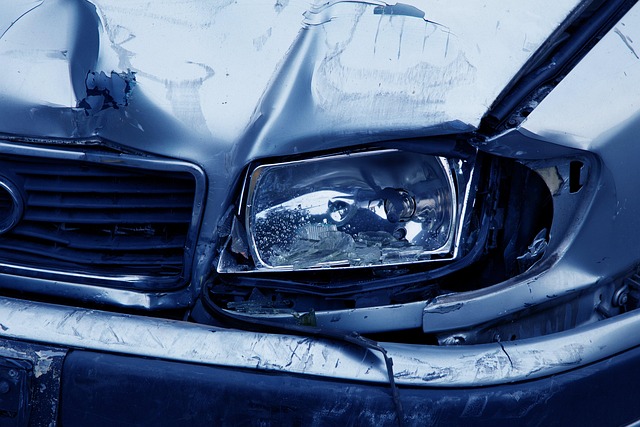
Tesla bumper cameras are designed to enhance safety with their 360-degree views, but they can fall victim to wear and tear like any other component. Common issues include fogged or cracked lenses, which can impair visibility, especially in low-light conditions or adverse weather. These problems may arise from various factors, such as exposure to extreme temperatures, road debris impact, or simply aging.
While some minor fogging can sometimes be rectified with careful cleaning and deicing, more severe cases or cracked lenses typically require professional Tesla bumper camera repair. It’s crucial to address these issues promptly for the safety of the vehicle and its occupants. Reputable auto body repair services offer specialized Tesla bumper camera replacement and repair, ensuring that your vehicle’s safety features function optimally.
Tools and Materials for Repair

For a successful Tesla bumper camera repair, the right tools and materials are essential. This includes specialized screwdrivers compatible with Tesla models, as well as precision-cut replacement lenses designed specifically for the bumper camera. It’s crucial to have access to high-quality optical-grade glass to ensure clear and crisp images post-repair. Additionally, a cleanroom kit or at least a set of lint-free cloths will be needed to prevent any debris from affecting the sensitive internal components during disassembly and reassembly.
When addressing fogged or cracked lenses, consider using specialized cleaning solutions suitable for optical surfaces. These can effectively remove haze and restore clarity without causing further damage. For severe cases involving hail damage repair or car collision repair, it might be necessary to replace not just the lens but also the camera module itself. Having a stock of replacement parts specific to Tesla models allows for more comprehensive car scratch repair solutions, ensuring optimal functionality and performance once the repair is complete.
Step-by-Step Guide to Replacement
Replacing a fogged or cracked Tesla bumper camera lens is a relatively straightforward process that can be accomplished with the right tools and a step-by-step approach. First, gather your materials, which include a new camera lens, a small flathead screwdriver, and possibly some isopropyl alcohol for cleaning. Park your Tesla in a well-lit area and power off all electronics to ensure safety during the repair.
Begin by removing any debris or dust from around the camera housing using a soft brush or compressed air. Next, locate and remove the screws securing the bumper cover around the camera. With the cover removed, carefully pull out the old lens and set it aside. Clean the mounting area thoroughly to ensure a secure fit for the new lens. Insert the new lens, aligning it precisely with the camera module, then secure it in place with the screws. Finally, double-check all connections and tighten any loose screws before reattaching the bumper cover and testing the camera’s functionality.
Reparing a fogged or cracked Tesla bumper camera is now a straightforward process thanks to this guide. By understanding the common issues, gathering the right tools and materials, and following a detailed step-by-step guide, you can enhance your Tesla’s safety features effectively. With these simple repairs, you’ll be back on the road, enjoying peace of mind with crystal clear visibility.