
Tesla bumper camera repairs after bumper/fender replacements require specific tools and parts to maintain 360-degree visibility. Structural changes can cause misalignment leading to distorted images. Regular wear contributes to potential sensor failure. Gather essential materials, park on a level surface, remove old brackets, clean the mount, insert new assembly, secure with hardware, and double-check connections for under an hour repair.
Looking to fix your Tesla bumper camera after a fender or bumper replacement? This comprehensive guide is designed to help. We’ll walk you through understanding common reasons for Tesla bumper camera failures post-repairs, outline essential tools and materials, and provide a detailed step-by-step process for successful installation. Get ready to restore clear rearview footage on your Tesla in no time.
- Understanding Tesla Bumper Camera Failures After Repairs
- Tools and Materials Required for Efficient Camera Replacement
- Step-by-Step Guide to Successful Bumper Camera Installation
Understanding Tesla Bumper Camera Failures After Repairs
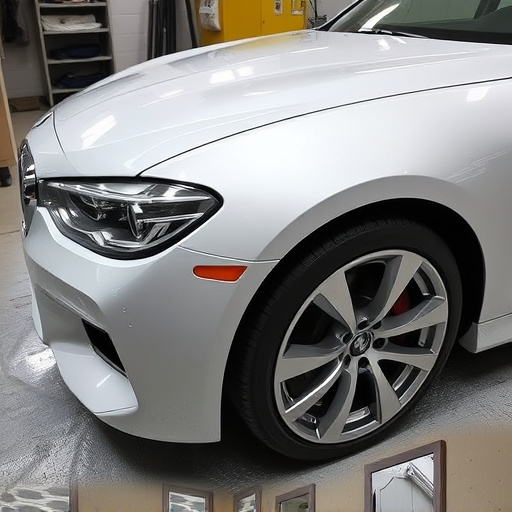
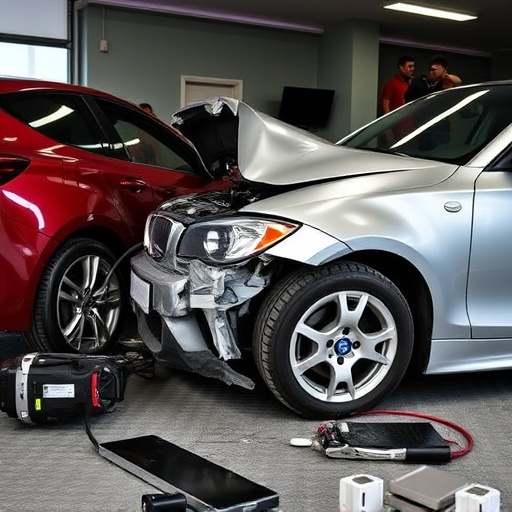
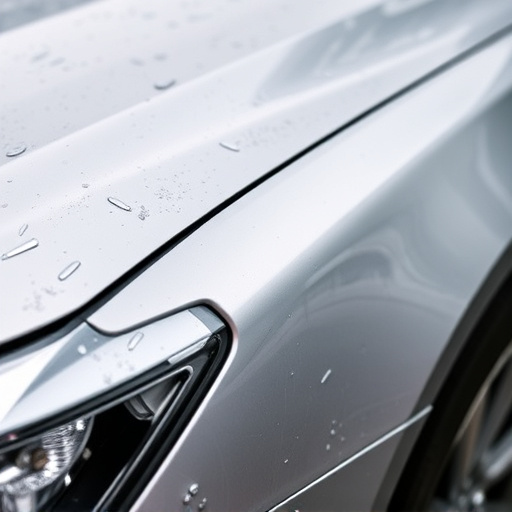
Tesla bumper cameras are designed to provide a 360-degree view around your vehicle for enhanced safety and driving confidence. However, they can be susceptible to failure after certain repairs, particularly those involving bumper or fender replacements. Understanding why this happens is crucial for proper Tesla bumper camera repair.
When a collision occurs or a dent repair is performed on the bumper, the camera assembly might experience disruption due to changes in structural integrity. Even minor adjustments during the repair process can cause misalignment of the camera, leading to distorted or incomplete images. Additionally, water ingress can be a concern if the repair isn’t executed with meticulous care, as Tesla bumper cameras are not always waterproof. Regular wear and tear over time can also contribute to sensor failure, making it essential to address any issues promptly to ensure optimal functionality.
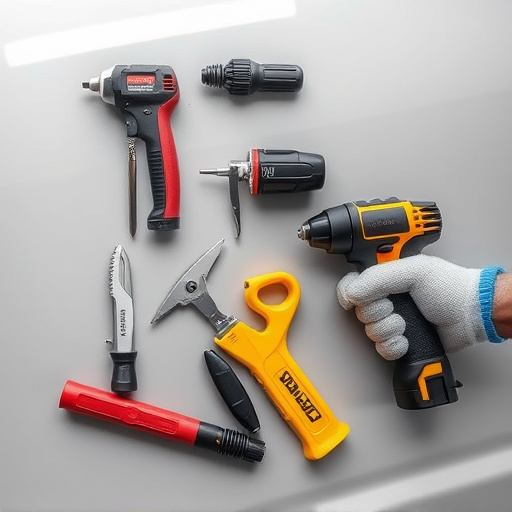
Tools and Materials Required for Efficient Camera Replacement
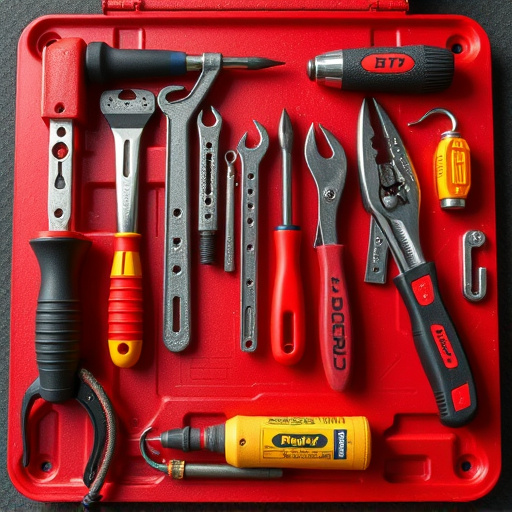
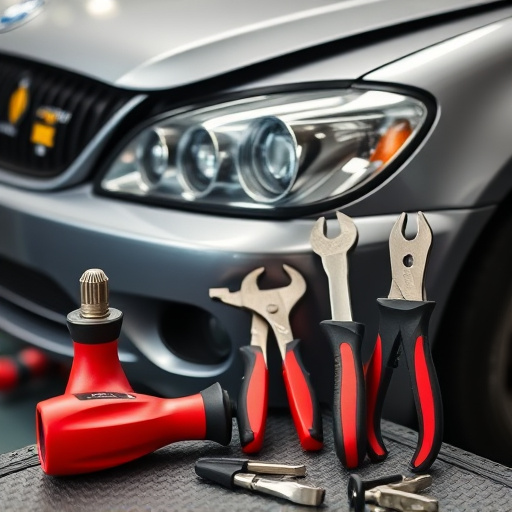
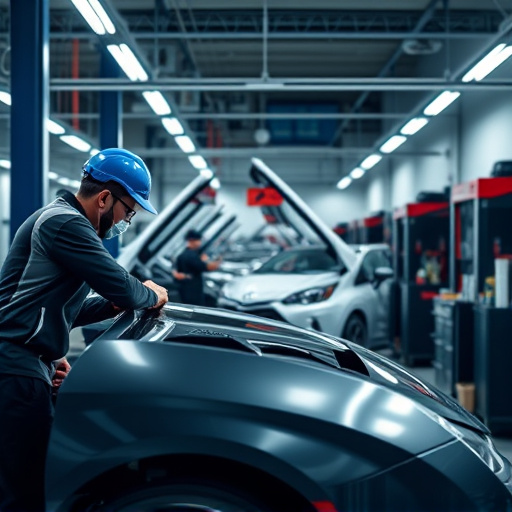
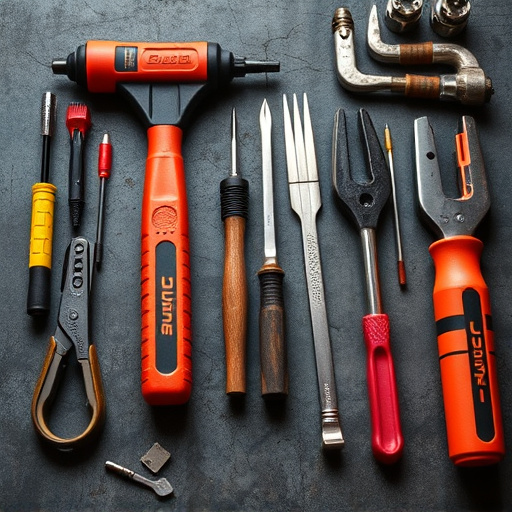
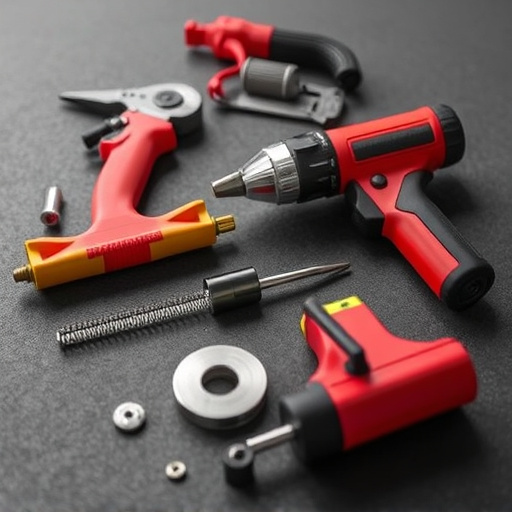
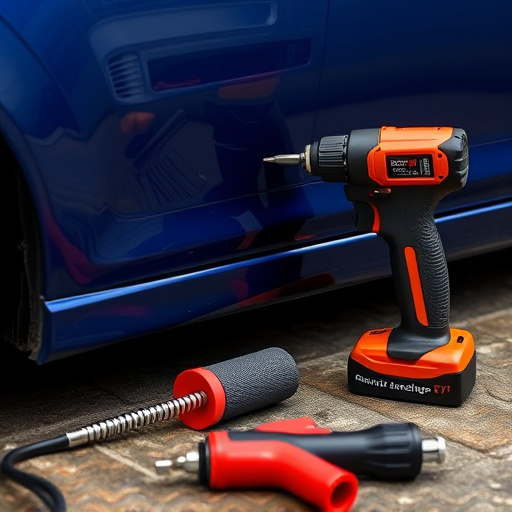
To efficiently repair a Tesla bumper camera after a fender or bumper replacement, several specific tools and materials are required. This includes specialized automotive repair tools such as torque wrenches, pliers, screwdrivers (both flathead and Phillips), and wire strippers. Additionally, you’ll need new camera hardware, including brackets, screws, and any other compatible parts specifically designed for Tesla models. A clean, well-lit workspace is essential to ensure precise work; consider using a vehicle lift or jack stands for safer access to the bumper area during the Tesla bumper camera repair.
The right adhesives and sealants are also crucial components. Since car bodywork often involves exposure to varying weather conditions, choosing high-quality automotive-grade adhesive ensures long-lasting repairs. Moreover, having a supply of O-rings or gaskets can prevent water intrusion into the camera housing, which is vital for maintaining optimal performance in both automotive repair and vehicle collision repair. These materials collectively contribute to a seamless Tesla bumper camera replacement process.
Step-by-Step Guide to Successful Bumper Camera Installation
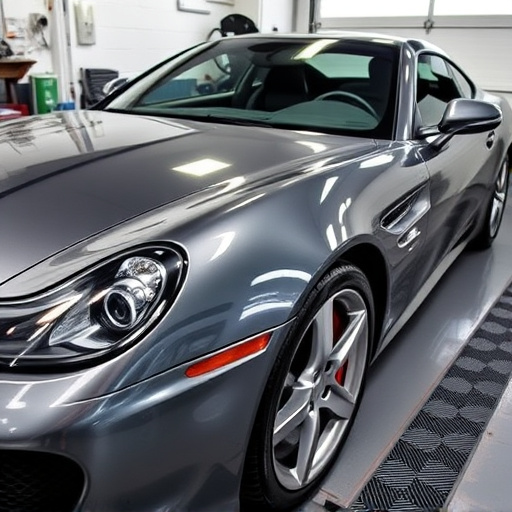
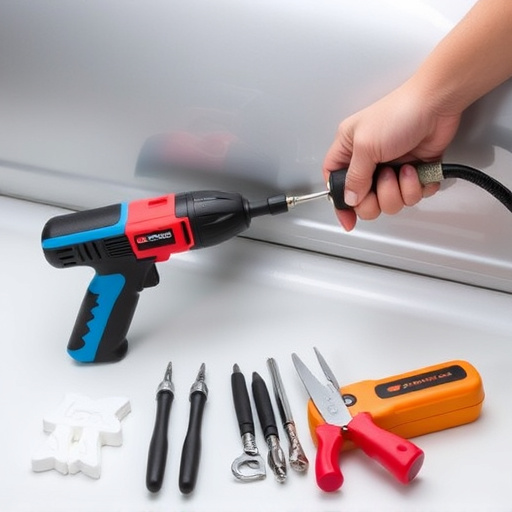
Repairing or replacing a Tesla bumper camera is a straightforward process that can be accomplished with the right tools and a step-by-step approach. Begin by gathering all necessary components, including a new camera assembly (ensure it’s compatible with your Tesla model) and any required hardware. Park your vehicle on a level surface and engage the parking brake for safety. Next, locate the bumper camera mount behind the front or rear bumper, depending on the repair needed. Using the appropriate tools, carefully remove the existing mounting brackets without damaging the car paint services or surrounding areas. Clean the mount and ensure it’s free of debris before inserting the new camera assembly. Secure the camera in place with the provided hardware, ensuring a tight fit. Double-check all connections for any loose wires or components. For fleet repair services or DIY enthusiasts, this process can be completed in under an hour, providing you with a functional and safe Tesla bumper camera system.
After exploring the intricacies of Tesla bumper camera repairs, it’s clear that understanding common failures and having the right tools are key. By following a structured guide, you can successfully replace your Tesla bumper camera with minimal hassle. Remember, prompt action after any fender bender or bumper replacement ensures optimal functionality and peace of mind while navigating the digital age, enhancing safety features like backward camera views for smoother driving experiences. For efficient Tesla bumper camera repair, equip yourself with the necessary tools and materials and follow each step diligently.