

Tesla bumper camera repair is vital for maintaining Parking Assist effectiveness and vehicle safety. Even minor damage can impact camera performance and aesthetics. Using correct tools, prioritizing safety, and following a comprehensive guide ensures accurate repairs. This DIY guide emphasizes safety precautions, disassembly, replacement, and testing for optimal Tesla bumper camera functionality.
Experiencing malfunctions with your Tesla’s parking assist? It might be time for a Tesla bumper camera repair. This comprehensive guide delves into the common issues afflicting these crucial sensors, equipping you with the knowledge to address them. From identifying problem signs to understanding necessary tools and safety precautions, we’ll walk you through the step-by-step process of replacing a faulty camera. Get ready to restore your Tesla’s parking assist functionality safely and effectively.
- Understanding Tesla Bumper Camera Issues
- Tools and Safety Precautions for Repair
- Step-by-Step Guide to Camera Replacement
Understanding Tesla Bumper Camera Issues
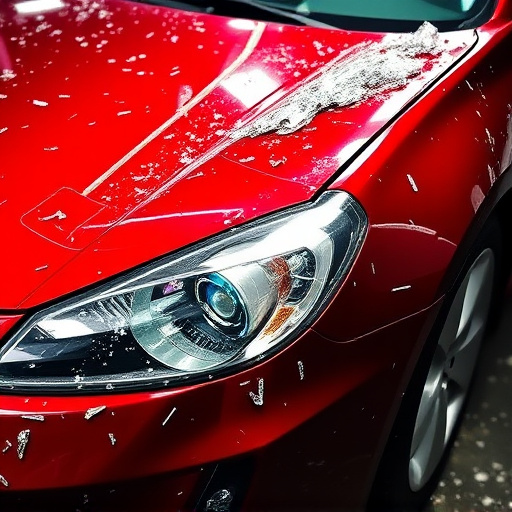
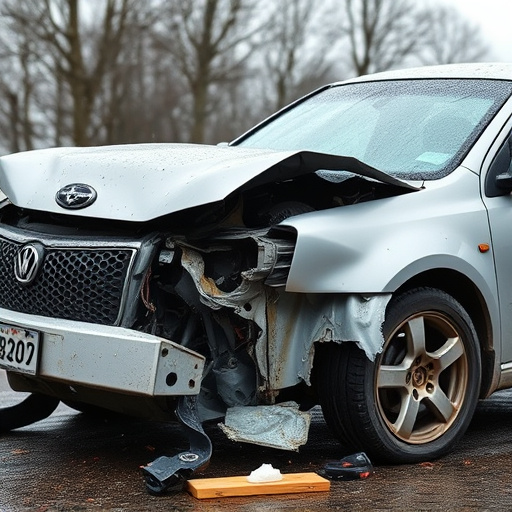
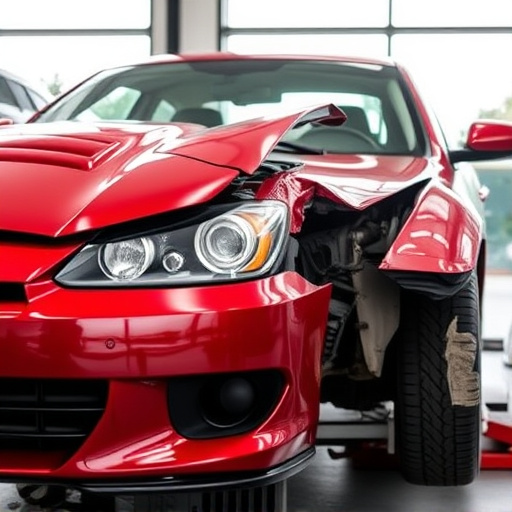
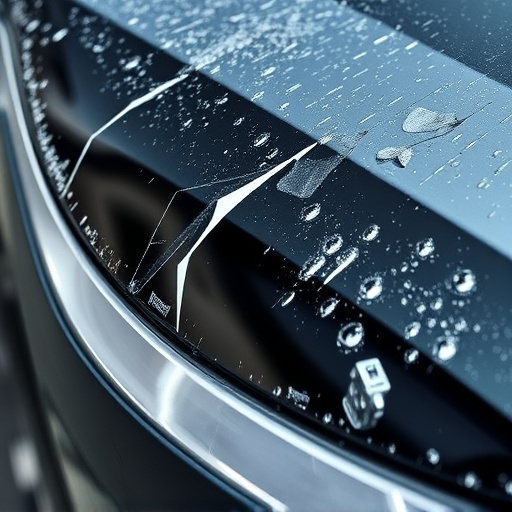
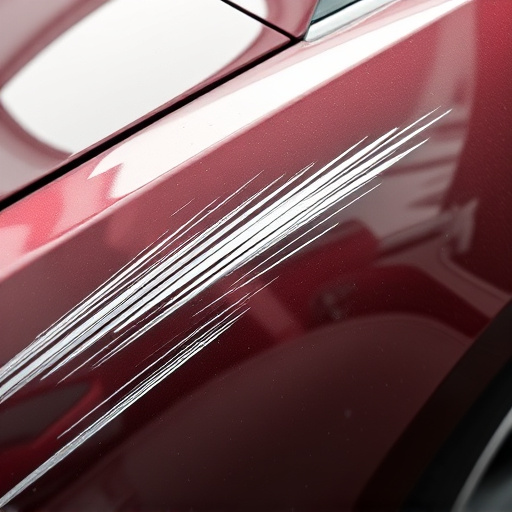
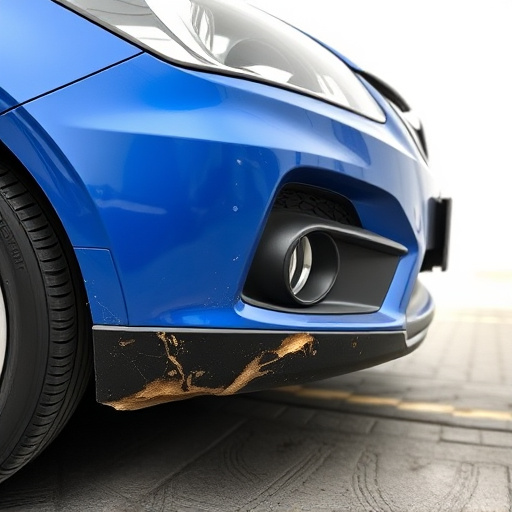
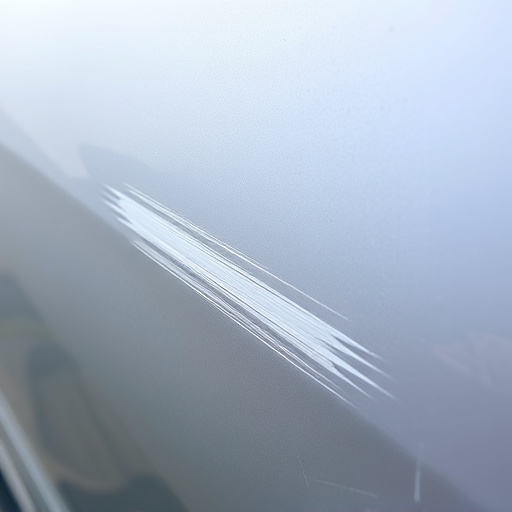
Tesla bumper cameras are integral to their Parking Assist system, providing drivers with a clear view during parallel parking or tight spots. However, these advanced sensors can encounter issues due to various factors such as manufacturing defects, minor collisions like hail damage repair, or normal wear and tear over time. Recognizing these problems is the first step in addressing them effectively.
In cases of car bodywork concerns, whether it’s a crack, scratch, or loose connection, proper Tesla bumper camera repair becomes essential for optimal performance. Even subtle damage can impair the camera’s ability to capture accurate images, leading to incorrect readings and malfunctions. Vehicle restoration techniques tailored for these cameras ensure they function as intended, enhancing safety features like Parking Assist without compromising aesthetics in car bodywork restoration.
Tools and Safety Precautions for Repair
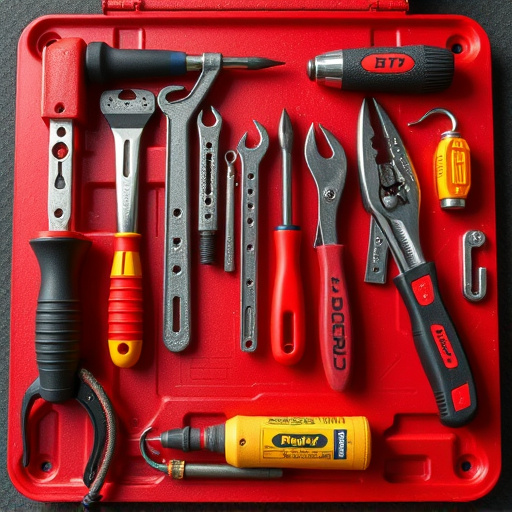
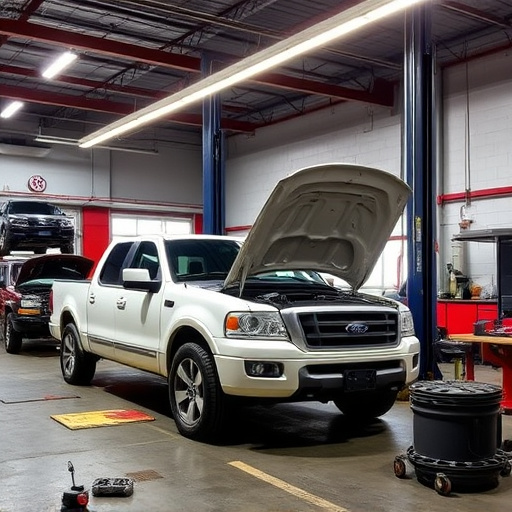
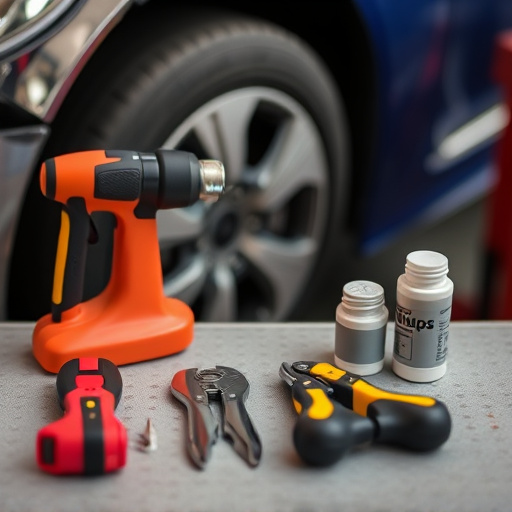
When undertaking a Tesla bumper camera repair, especially for parking assist malfunctions, it’s essential to have the right tools and prioritize safety. The process requires a good selection of precision tools, including a variety of screwdrivers, pliers, and wire strippers. For more intricate work, specialized tools like camera lens repair kits or small soldering irons might be needed. Always opt for high-quality tools to ensure accuracy and longevity in your repairs.
Safety is paramount during any vehicle repair, especially with electric vehicles like Tesla. Ensure proper ventilation in the work area and take precautions when handling electronic components. Wear protective eyewear and gloves to avoid any accidental exposure or damage. Familiarize yourself with the car’s electrical system and understand the risks involved before starting the Tesla bumper camera repair.
Step-by-Step Guide to Camera Replacement
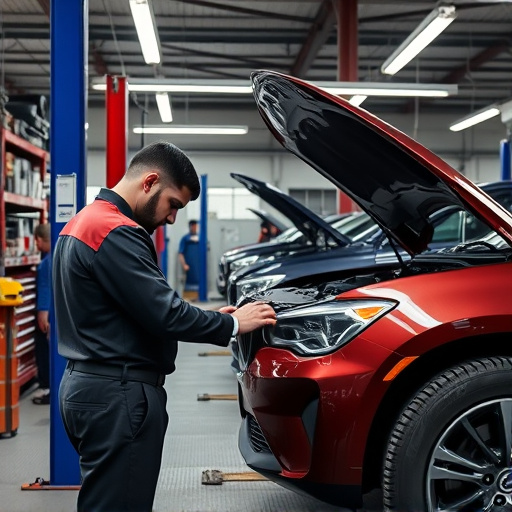
Repairing a Tesla bumper camera that’s malfunctioning for Parking Assist can be a straightforward process if approached methodically. Here’s a step-by-step guide to help you with this Tesla bumper camera repair:
1. Safety First: Ensure your vehicle is parked securely and turned off before beginning the repair. Safety glasses are recommended due to tiny components involved.
2. Power Off and Disconnect: Locate the camera module behind the bumper, usually near the license plate. Power off any connected wires and disconnect them carefully using a flathead screwdriver if necessary. Some models may require specialized tools for disconnection.
3. Remove the Damaged Camera: Carefully unscrew and remove the old camera module from its mounting. Document the position of each screw for easy reassembly later.
4. Prepare the New Camera: Obtain a compatible replacement camera designed specifically for your Tesla model. Double-check connections to ensure compatibility. Some models may require coding or pairing after installation.
5. Install the New Camera: Carefully align and secure the new camera module in its mounting, ensuring all screws are tight. Reconnect the wires following the original wiring diagram if applicable.
6. Test Functionality: After reinstallation, power on your vehicle and test the Parking Assist functionality to ensure proper operation of the new Tesla bumper camera repair.
Repairing a malfunctioning Tesla bumper camera is a feasible task for owners with some technical know-how. By understanding the common issues, following safety precautions, and adhering to a step-by-step guide, you can effectively replace the camera and restore your Tesla’s parking assist functionality. This DIY approach not only saves costs but also empowers owners to take control of their vehicle’s maintenance, fostering a sense of independence and satisfaction. Remember, with the right tools and careful navigation, fixing your Tesla bumper camera is a manageable process that can enhance your overall driving experience.