
Tesla bumper camera repair involves addressing issues like debris, damage, sensor malfunction, or software glitches through diagnostic testing. The process begins with physical inspections and progresses to internal signal strength and image quality analysis. Complex cases may require body shop visits for firmware updates or sensor cleaning. Repairs ensure optimal vehicle performance and clear visuals for drivers, emphasizing safety and meticulous steps similar to top-tier car dent repairs.
Tesla’s advanced driver-assistance systems (ADAS) rely heavily on clear, accurate image data from their bumper cameras. However, issues with faulty image signal processing can lead to reduced visibility and safety risks. This article guides you through understanding common Tesla bumper camera problems, diagnosing signal processing faults, and provides a step-by-step repair process. Learn how to enhance your Tesla’s forward vision and ensure optimal safety features function correctly with this comprehensive Tesla bumper camera repair tutorial.
- Understanding Tesla Bumper Camera Issues
- Diagnosing Faulty Image Signal Processing
- Step-by-Step Repair Guide for Better Vision
Understanding Tesla Bumper Camera Issues
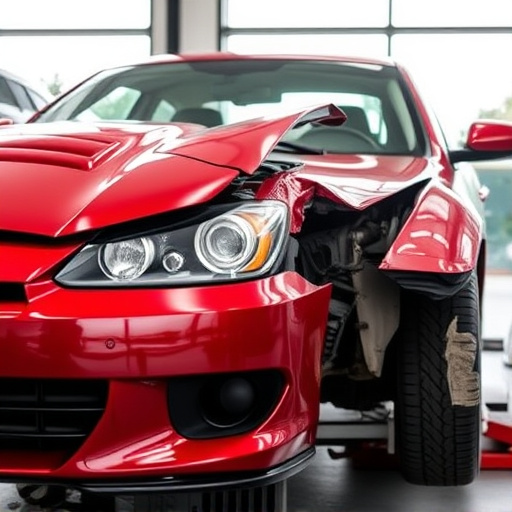
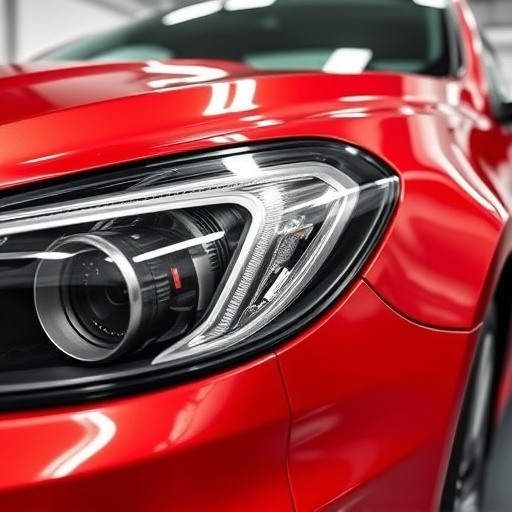
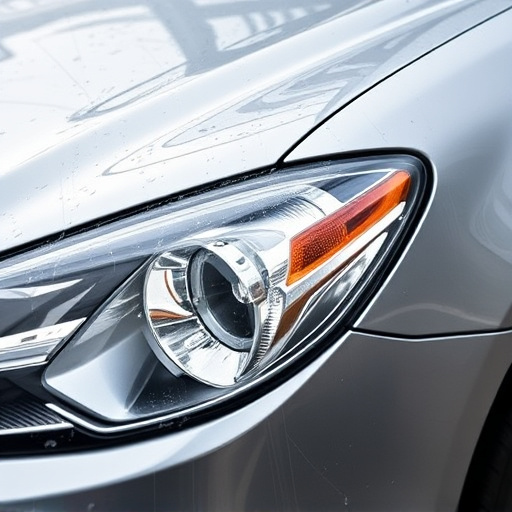
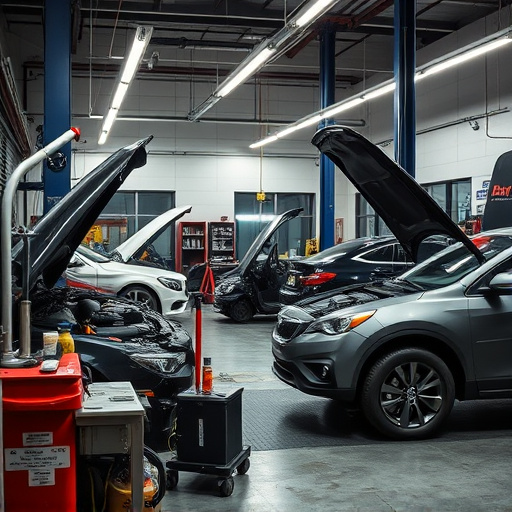
Tesla bumper cameras are an integral part of the vehicle’s advanced driver-assistance systems (ADAS), enhancing safety and visibility. However, like any electronic component, they can encounter issues, often related to image signal processing (ISP). Problems may arise from various factors, including debris or damage to the camera lens, sensor malfunction, or software glitches affecting ISP accuracy.
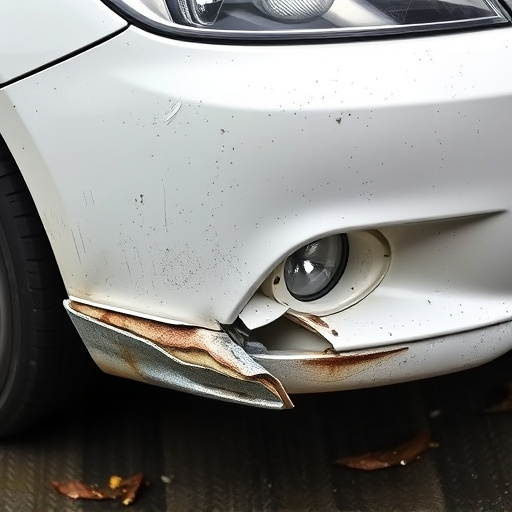
While minor issues might be temporary, persistent problems warrant attention. Many owners opt for professional Tesla bumper camera repair to address these challenges effectively. This includes diagnostic testing to pinpoint the root cause, whether it’s a simple auto glass repair, a scratch repair on the lens, or a more complex software update. Prompt repair ensures optimal vehicle performance and safety, ensuring drivers have clear, accurate visuals while navigating.
Diagnosing Faulty Image Signal Processing
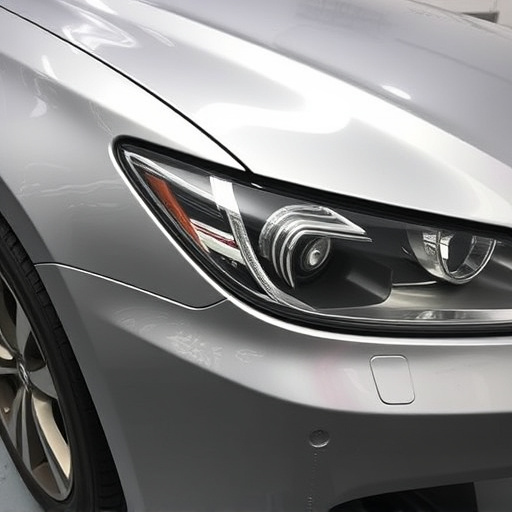
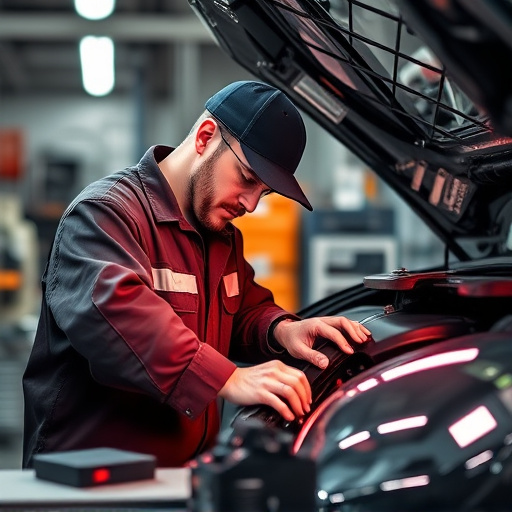
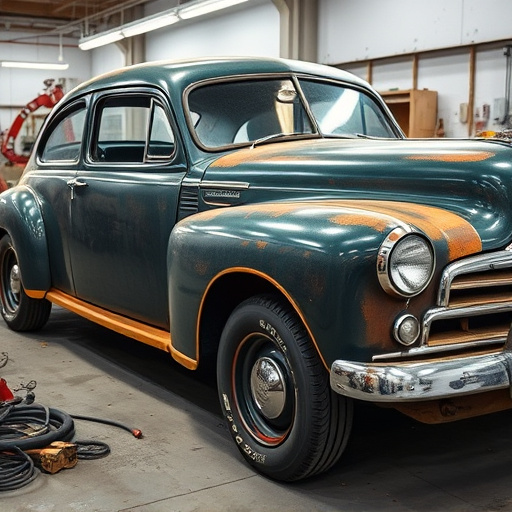
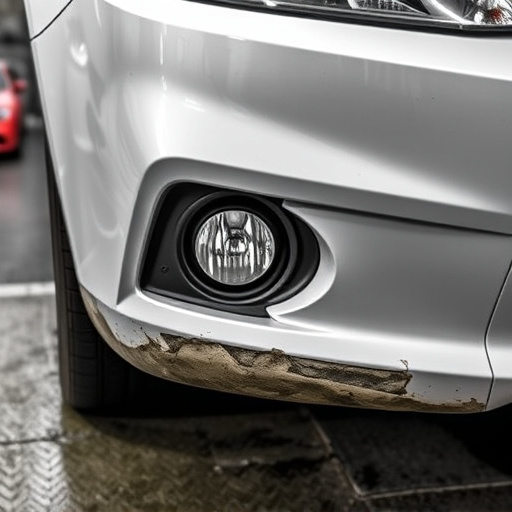
Diagnosing a faulty image signal processing issue in Tesla bumper cameras requires a systematic approach. Start by checking the camera’s physical connections to ensure they’re secure and undamaged, much like how a skilled mechanic would inspect a car dent repair before proceeding. If all external components appear intact, focus on the internal processes. Using specialized diagnostic tools, auto repair shop technicians can analyze signal strength and image quality. This involves comparing the bumper camera’s performance with known good units to identify anomalies in real-time data transmission and image processing algorithms.
Often, the problem might not be with the Tesla bumper camera itself but with its integration into the vehicle’s overall system. A visit to a reputable vehicle body shop can help pinpoint these issues. Experts there will use advanced diagnostic software to check for firmware updates, hardware conflicts, or even sensor dusting—a common occurrence in bustling urban environments that can impair image signal processing. Identifying and addressing these problems is crucial for ensuring the camera repairs are effective and long-lasting, like a well-executed car dent repair that restores a vehicle’s aesthetic without compromising structural integrity.
Step-by-Step Repair Guide for Better Vision
Following a faulty image signal processing issue with your Tesla bumper camera, a detailed Tesla bumper camera repair guide can help get your vehicle’s vision system back in top shape. Here’s a step-by-step process to ensure smooth sailing:
1. Safety First: Park your Tesla safely and turn off the engine. Ensure all occupants are secure before proceeding. Your safety is paramount during any vehicle repair, including Tesla bumper camera repair.
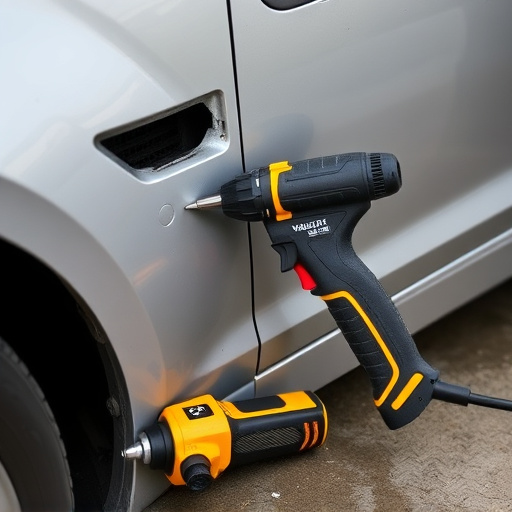
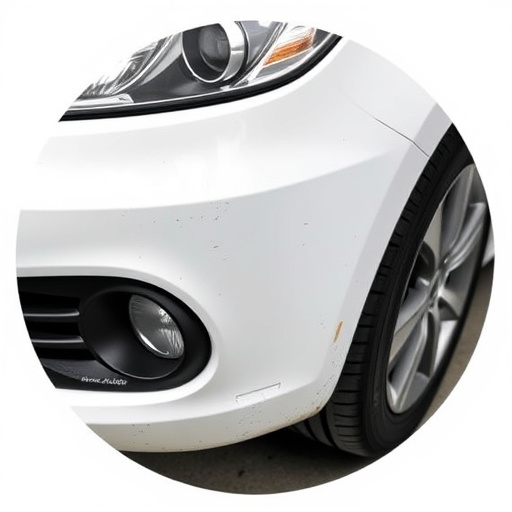
2. Accessing the Camera: Begin by locating the faulty bumper camera. Typically mounted at the front or rear of your Tesla’s bumper, it’s usually a straightforward process with the right tools. Once found, carefully unplug the camera from its wiring harness to isolate it for repair.
3. Inspecting Connections: Examine the wiring harness for any visible signs of damage, corrosion, or loose connections. These could be the root cause of the faulty signal processing. If you notice any issues, clean or tighten connections as needed using appropriate tools and materials.
4. Testing Components: With the camera unplugged, use a multimeter to test each component for continuity and voltage. Check if power is reaching the camera and if there’s an open circuit causing the faulty signal processing.
5. Replacing Faulty Parts (if necessary): If any component tests as defective, replace it with a genuine Tesla part or a high-quality equivalent. This could include anything from a new camera module to a rebuilt control unit. Ensure proper installation following manufacturer guidelines.
6. Reassembly and Testing: Once all parts are replaced, carefully reattach the camera and plug in the wiring harness. Power on your Tesla and test the bumper camera’s functionality. Confirm that image signal processing is working correctly and adjust settings as needed through the vehicle’s infotainment system.
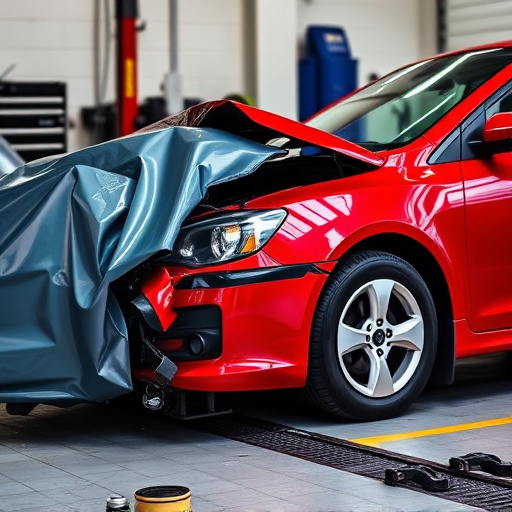
7. Professional Help (if needed): If you encounter any complications or lack confidence in your auto body repair skills, don’t hesitate to seek professional help from a specialized Tesla service center. They offer reliable collision damage repair services, including bumper camera repairs, ensuring your vehicle is restored to its optimal condition.
For many Tesla owners, a faulty image signal processing (ISP) in their bumper cameras can significantly impact their driving experience. However, with a thorough understanding of the issue and a step-by-step approach to repair, it’s feasible to restore optimal visibility. By diagnosing the problem and following a structured guide, you can effectively perform a Tesla bumper camera repair, enhancing your vehicle’s safety and performance. Remember, clear vision is crucial for navigating today’s roads, making this DIY repair a valuable skill to have.