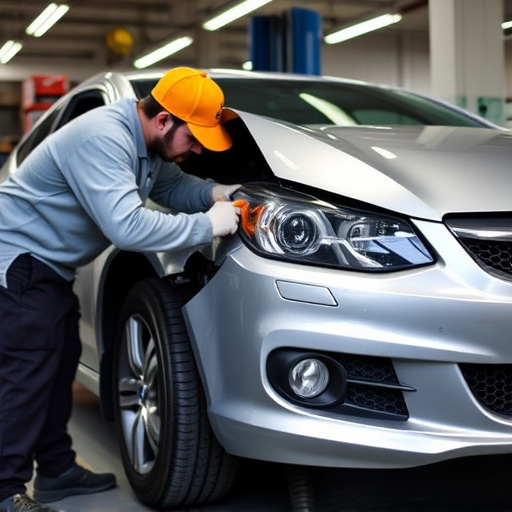
Tesla bumper camera issues (flickering/blackouts) stem from weather, branches, electrical interference, hardware problems, or minor accidents. Inspect cameras and connections for damage before attempting repairs. Consult professionals for advanced diagnostics if issues persist after checking connections and replacing harnesses. For faulty cameras, install new ones with proper alignment and test feed stability after auto body repairs.
“Experiencing flickering or blacked-out feeds from your Tesla’s bumper camera? Don’t worry, you’re not alone. This comprehensive guide delves into the common issues plaguing these advanced drivers’ aids and provides a step-by-step repair process to get them back up and running smoothly. By understanding the root causes, from software glitches to sensor obstructions, you’ll be equipped with the knowledge to tackle basic Tesla bumper camera repairs, enhancing your vehicle’s safety features.”
- Understanding Tesla Bumper Camera Issues
- Diagnosing Flickering or Blacked-Out Feeds
- Step-by-Step Repair Guide for Bumper Cameras
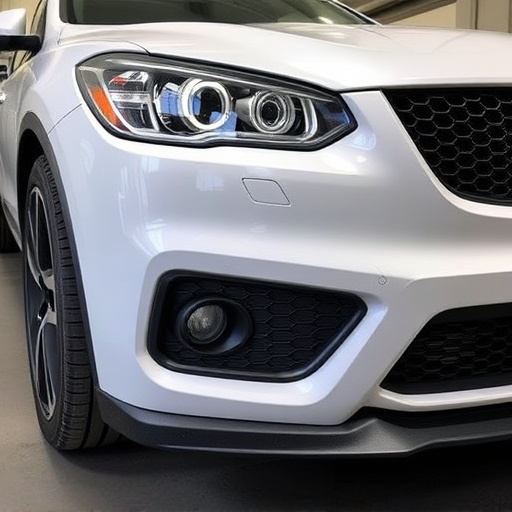
Understanding Tesla Bumper Camera Issues
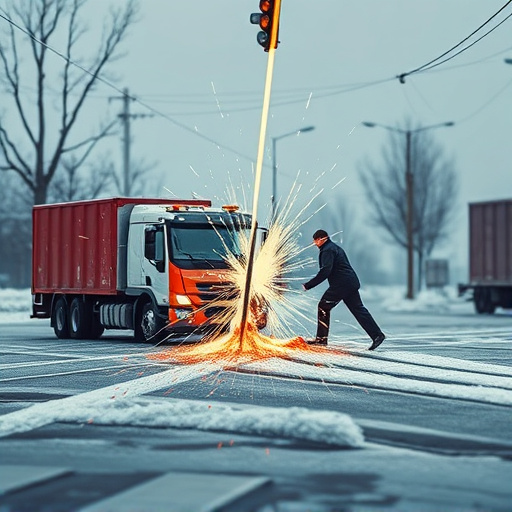
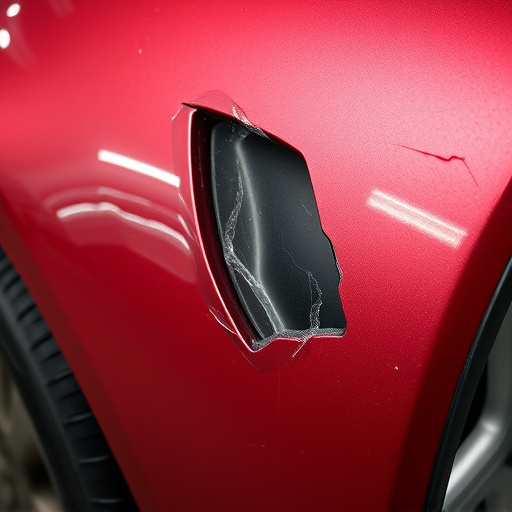
Tesla bumper cameras are an integral part of modern vehicle safety features, providing drivers with a 360-degree view around their car. However, these advanced systems can sometimes experience issues, leading to flickering or complete blackouts on the display. This problem is not uncommon in the automotive industry, and it’s essential to understand the potential causes behind such malfunctions. One of the primary reasons for a flickering Tesla bumper camera feed could be interference from external factors like weather conditions, tree branches, or nearby electrical devices, which can impact signal strength.
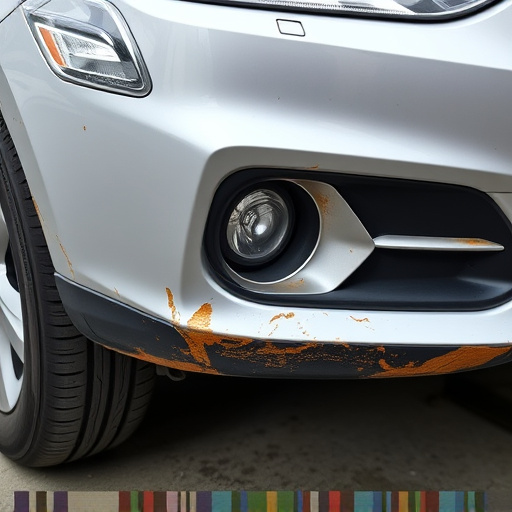
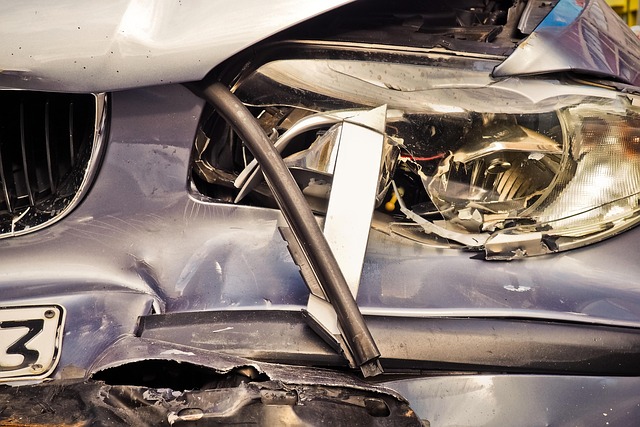
Additionally, issues with the camera’s hardware, including faulty cables or damaged lenses, might cause these displays to malfunction. Even minor accidents or improper installation during the vehicle’s manufacturing process can result in a need for Tesla bumper camera repair. Auto glass replacement or vehicle paint repair services are also relevant when addressing these problems, as they ensure that any physical damage is rectified, allowing for optimal camera functionality and driver safety.
Diagnosing Flickering or Blacked-Out Feeds
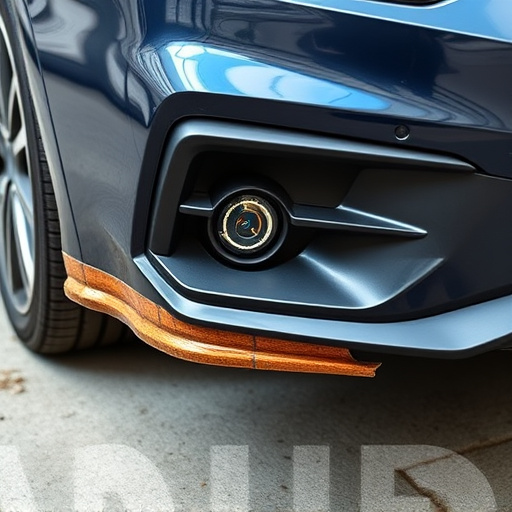
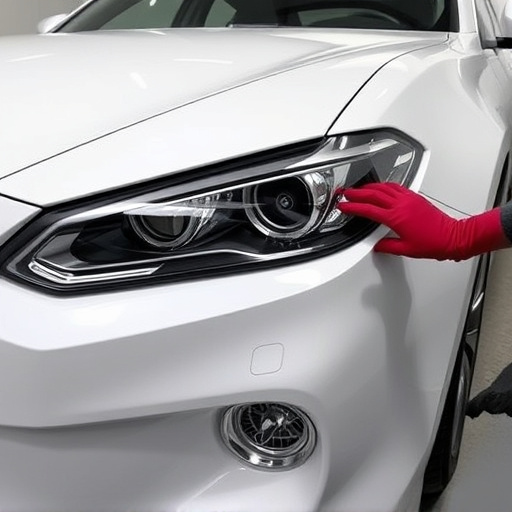
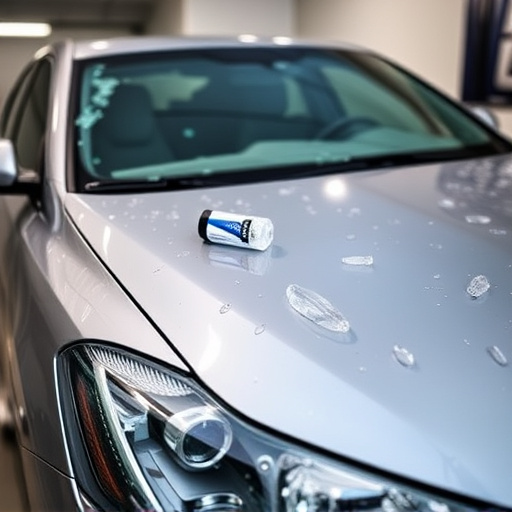
When experiencing flickering or completely black feeds from your Tesla bumper camera, it’s crucial to diagnose the issue accurately before proceeding with a Tesla bumper camera repair. Start by inspecting the camera for any visible damage, such as cracks in the lens or signs of tampering. Next, check the connections at both ends of the camera’s cable; loose or corroded connectors can cause intermittent signals. Verify that the power supply to the camera is consistent and that there are no power surges or dips affecting its performance.
Additionally, examine the surrounding area for any potential sources of interference, such as nearby electrical components or metal structures that might be affecting the camera’s signal transmission. If the problem persists after these initial checks, consider consulting a professional auto body shop specializing in vehicle collision repair and car damage repair. They can perform more advanced diagnostics to identify issues with the camera hardware, software, or integration with your Tesla’s system.
Step-by-Step Repair Guide for Bumper Cameras
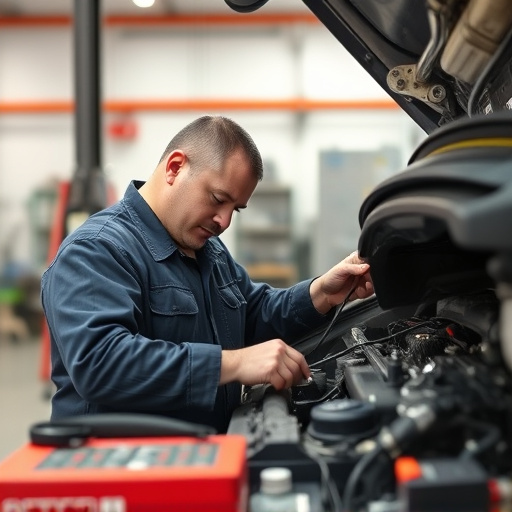
The Tesla bumper camera repair process involves a few key steps to ensure your vehicle’s rearview assistance is functioning optimally. Start by identifying the issue; flickering or completely black feeds are common problems that can be caused by various factors, including loose connections, faulty cables, or damage from an auto collision. If you suspect a more severe problem, it might be best to consult a professional auto body repair service.
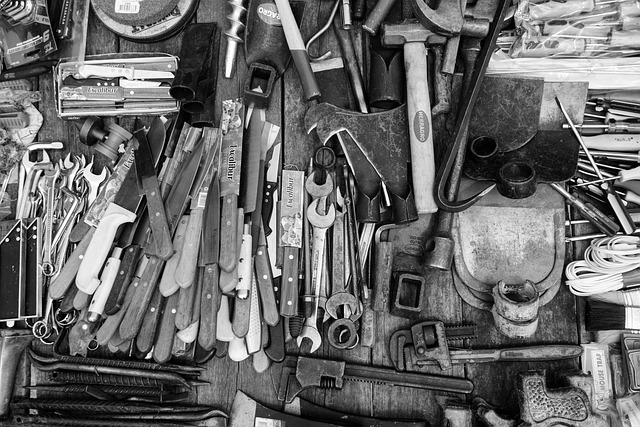
Next, gather the necessary tools and parts: a new or replacement camera, wire strippers, twist ties, and a multimeter (for checking voltage). With safety in mind, pull over to a safe location before beginning. Disconnect the battery to avoid any accidents while working on the car. Now, locate and inspect the bumper camera harness, tightening any loose connections with twist ties. If the problem persists, you might need to replace the entire harness or seek help from an auto collision center for more intricate auto body repairs. For a faulty camera, install the new one, ensuring proper alignment, and reattach any panels or trim as needed. Test the repair by powering up the car and verifying the feed’s stability.
If your Tesla’s bumper camera feed is flickering or completely black, don’t panic. This comprehensive guide has equipped you with the knowledge and step-by-step instructions to effectively diagnose and repair the issue. By understanding the common problems afflicting these cameras and following a systematic approach to their fix, you can restore clear and reliable visibility for your Tesla’s advanced driver-assistance systems (ADAS). Remember, competent DIY repairs not only save costs but also ensure your vehicle’s safety features function optimally. For any complex cases or if you’re uncomfortable with the process, professional Tesla bumper camera repair services are readily available to provide assistance.